
This fun to make pizza buns recipe is the perfect weekend tear and share bread! It's a giant pepperoni cheese pizza, rolled up into a long sausage, then sliced and baked in a baking dish. But, this swirled pizza bread can be stuffed with your favourite toppings, like Hawaiian, Margarita, Veggie and more!

Ever since we were asked to stay at home in 2020, like many others, I decided to buy my first Kitchen Aid. Also, what triggered it off, was that 2020 was also the year I really got into my exercise, so I could have my cake and eat it.
And still to this day, I've been sweating, but also enjoying a little bit of what I fancy in the ways of baking. And I rekindled my relationship with baking homemade pizza from scratch.
I've often had a debate with my husband over the years that I can have one kneaded, proofed and baked before a Domino's arrives. Also, it's MUCH, MUCH cheaper bake pizza at home. And a magical, fun process, even if you don't have a Kitchen Aid.
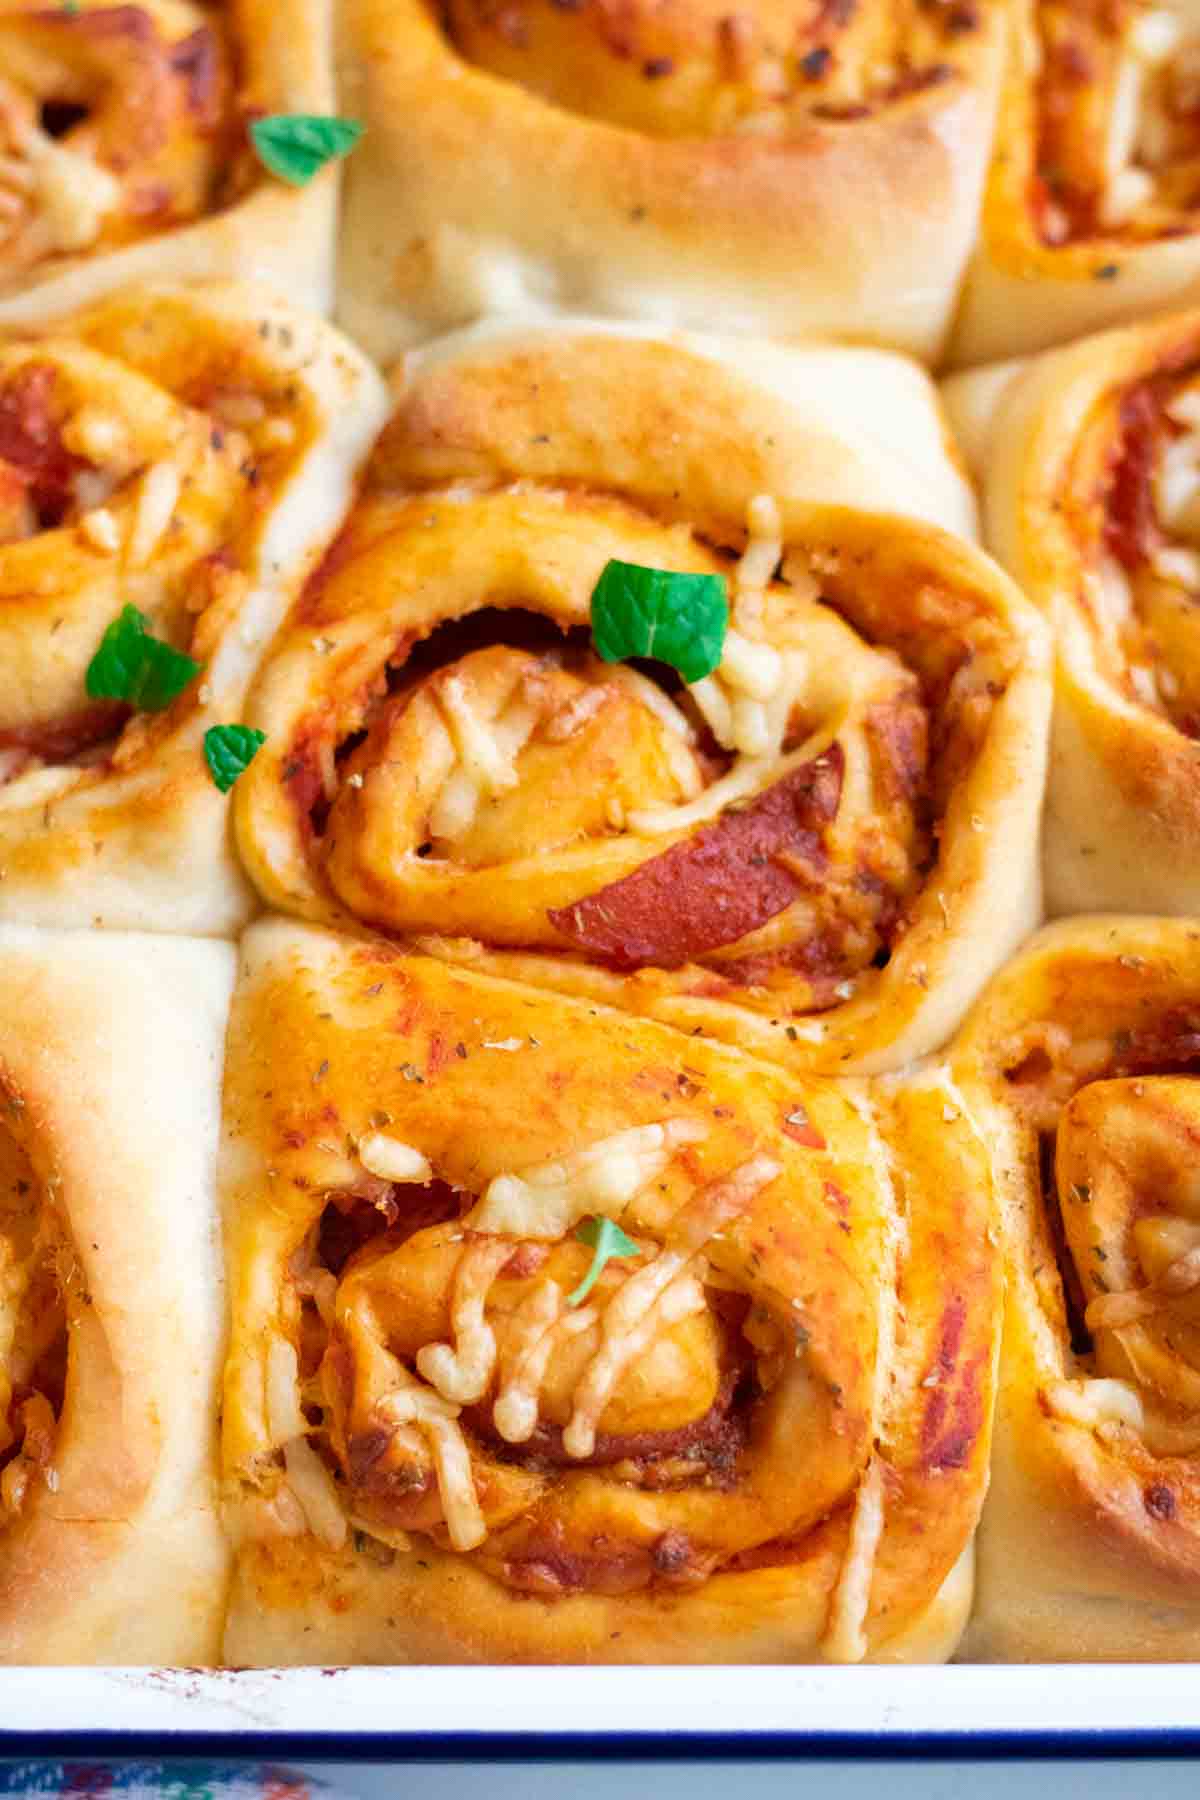
What Are Pizza Buns?
There are many names you could give this tear 'n' share stuffed pizza buns recipe. But, this recipe is loosely inspired by John Torode's hot bacon and gruyere bread I watched on ITV.
This homemade pizza buns recipe could also be described as pizza rolls, pizza wheels, or a pizza bread roll. They're made as you would do with homemade pizza dough and layered with pizza sauce, cheese and your favourite toppings.
Then, similarly to a pizza stromboli, it is rolled up into a sausage pizza log. But to make my cheesy pizza buns, I slice them, place in a buttered baking dish, proof and bake where they beautifully squish together and form tear and share pizza bread rolls.
I always find pull apart bread so exciting, like pulling crackers. You never know how big or small a piece you're going to get. And it's great to dip in garlic butter sauce!
Also, these cheese pizza rolls are not to be confused with a pizza bun burger recipe. Note, this is a pizza topped bun with a burger in the middle.

Equipment for Easy Pizza Rolls
Please note, as an Amazon Associate, I earn from qualifying purchases made through links.
- Kitchen aid
- Measuring cups
- Weighing scales *if not using cups
- Measuring spoons
- Cheese grater
- Measuring jug
- Pastry brush
- Clingfilm
- Rolling pin
- Chopping knife
- Baking dish

My Method for Easy Pepperoni Rolls
You'll find a full list of ingredients for my pull apart pizza bread roll recipe by clicking the link below.
Jump to RecipeSteps
- Heat the milk, water and butter in a microwaveable jug, stirring every 30 seconds until melted and luke warm.
- Mix the flour, salt, sugar and yeast together with a spoon.
- Using a kneading dough hook, pour in the buttery milk and knead on speed 2 for 8 minutes.
- Cover with cling film for 2 hours, until it's doubled in size.
- Meanwhile, butter a 30cm x 20cm baking dish, 2" deep (approx A4 paper sized).
- Turn out to a well floured surface and knead briefly for 30 seconds.
- Dust a rolling pin and roll out to a large rectangular pizza base of about 28" x 10". Note, this takes about 5 minutes as it will have a tendency to pull back.
- Spread pizza sauce, leaving a 2cm border around the edges.
- Sprinkle with cheese, oregano and scatter the pepperoni or any other favourite toppings.
- Tightly roll into a log. If it's sticking, use a pallet knife to carefully lift it from your surface as you roll.
- Slice your pizza stromboli log into 12 x 2.5" slices and place cut facing down in the baking dish until you have 4 rows of 3.
- Gently press each one down slightly with your hands so they fill the dish a bit more.
- Sprinkle again with oregano and a pinch of cheese on each one.
- Cover with oiled cling film and leave to proof again for 1 hour.
- Preheat the oven on gas mark 5 / 375F /190c conventional / 170c fan.
- Remove the cling film and brush each pizza bun with milk and bake in the middle of the oven for 35-40 minutes or until slightly golden on the edges.
- Allow to cool slightly and serve!

No Skill Required
It may sound like a lot of steps, but there's very little technical skill or faffing required. And any proofing means you can move on to do something else in the meantime.
It doesn't require being tidy, either, when rolling your pizza dough. Also, you could make this as a mini pizza bun recipe by rolling out to a narrower base.
Pizza Bun Recipe - Easy Alternatives
Due to the large amount of pizza dough makes, it also requires a lot of pizza sauce. So, to make life easier and use up dry store cupboard essentials, I tend to you a jar of bolognese sauce or ready made pizza sauce.
Another idea, is that you could easily turn it into a cheesy tear and share garlic bread, by also brushing with melted butter and minced garlic mixed together.

No-Knead Pizza Dough Rolls
If you wanted to make some no-knead pizza buns, alternatively, you can use ready rolled pizza dough instead of following my pizza bun mix recipe.
In fact, you don't even need to follow a recipe as such. Just open it out, roll into a rectangle, and spread with enough sauce to cover, leaving a 2cm border.
Then sprinkle with cheese, herbs, and any pizza bun topping recipe you wish before rolling and slicing into pizza pinwheels. I would then leave to proof and bake in the same way.
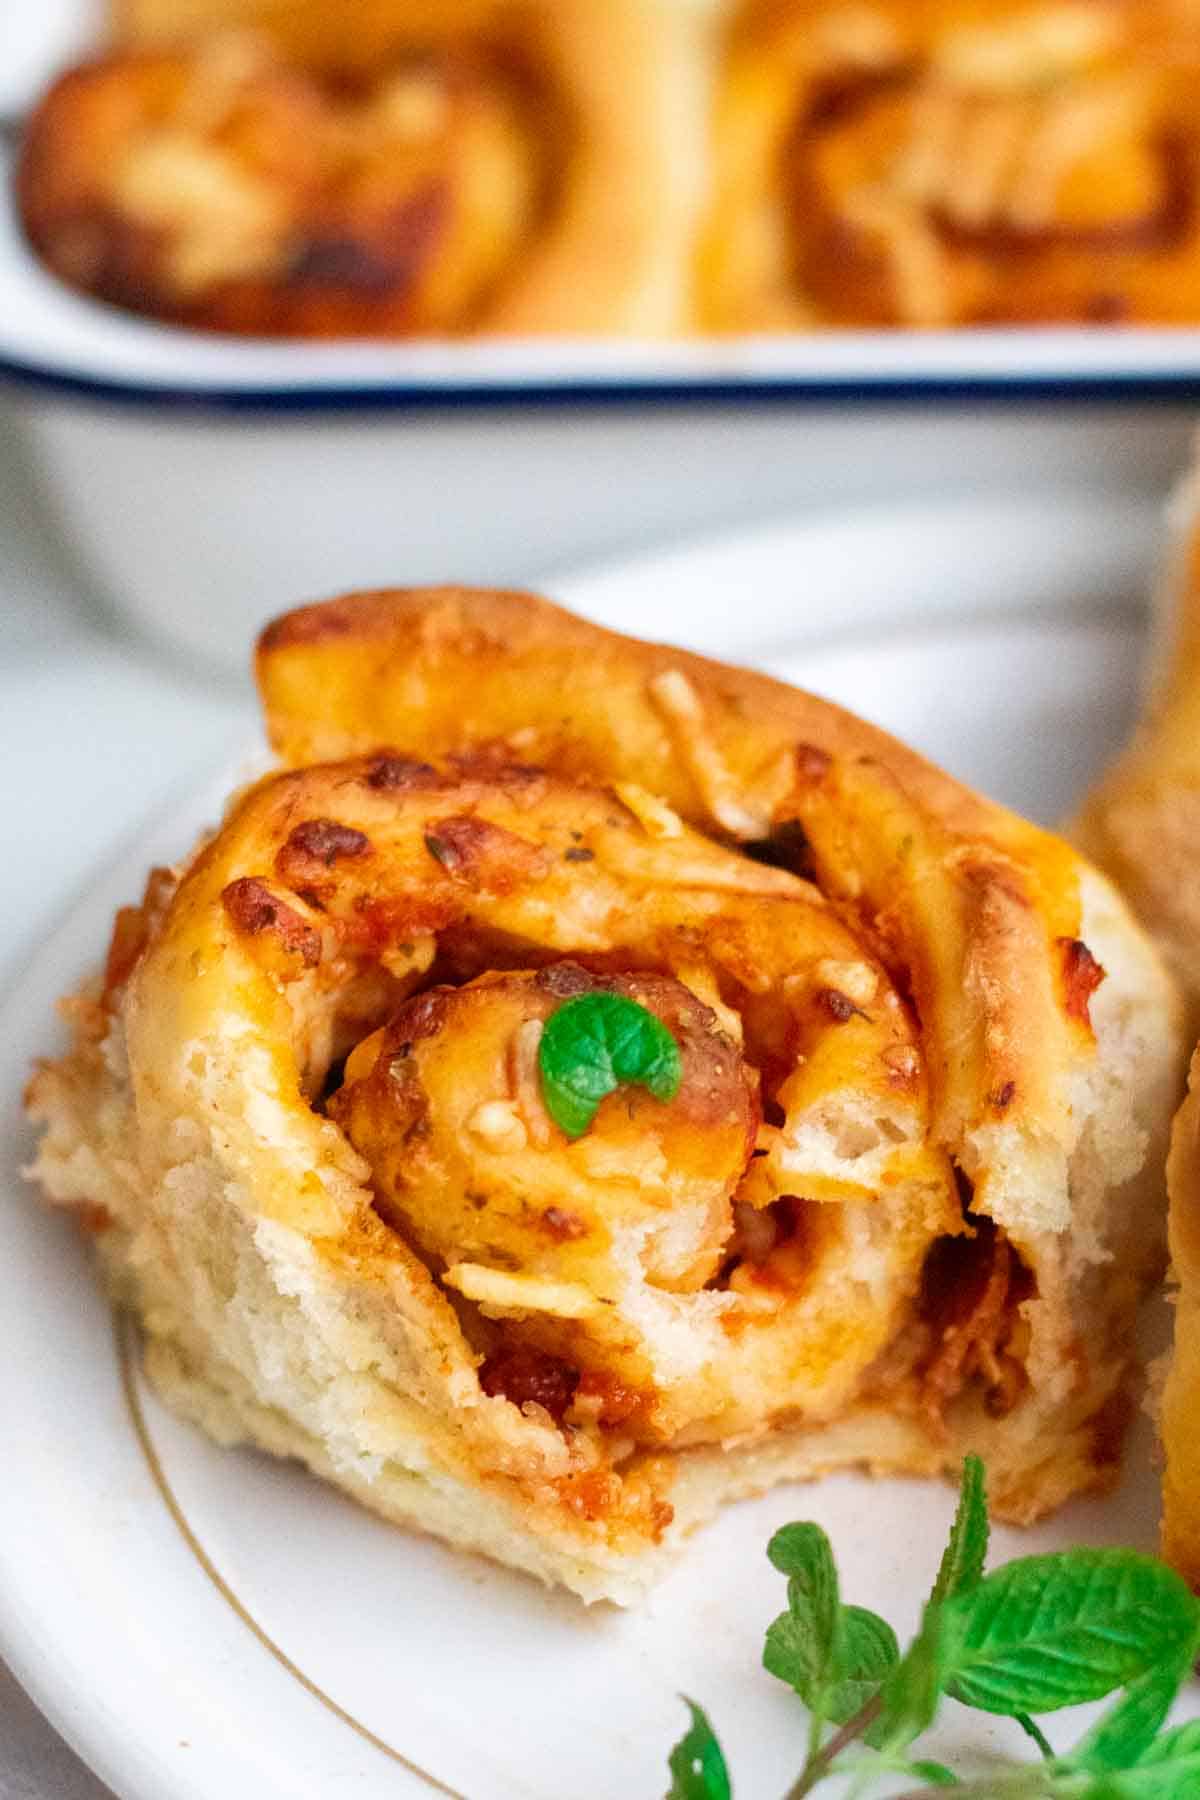
Party Pizza Buns
If you don't want to make this as a tear and share pizza bread, then simply bake them on a large baking tray, spaced apart.
Does Bread Flour Need More Water?
It took me two attempts to get the rise I wanted for my pizza buns recipe. And that's because I followed my normal pizza dough recipe whilst using Canadian bread flour.
I learned that, when using very strong bread flours, it absorbs more water, so I needed to increase the liquid. This apparently, is due to the protein content, which you can read more on here.

How to Tell If Your Bread Dough is Too Dense
When you've finished kneading, the dough should be stretchy, pliable but not too sticky. Although, I find it's easier to work if it's more on the wet than the dry side as you can dust a counter well and knead in to firm up a bit.
How to Salvage Dense Pizza Dough
This is more about how I salvaged my first attempt. When I followed my usual pizza dough recipe, I left it to proof and it didn't double in size. Not even close.
So, I took back to my mixer and added some more tablespoons of water and kneaded it in for about 5 minutes. And then proofed again for 2 hours, which it finally doubled in size.

Adding sugar to feed yeast in pizza dough
I later adjusted my dough recipe by adding caster sugar to feed the yeast. I generally find this is best when working with doughs, like all purpose or plain flour that need help with rising.
But, going back to John Torode's cheese and bacon tear and share bread recipe I tried last Summer, it worked well. I find it gives doughs a boost and perfect when twice proofing.
Can You Over Proof This Pizza Buns Recipe?
While proofing during the pizza buns' 2nd rise, you can actually proof up to 2 hours. It will give a delicious tear and share bread texture.
But, any longer and you risk the air bubbles popping and collapsing. If you want to give yourself more time, you'll need to slow the 2nd proofing process down.

Proofing This Pizza Buns Recipe in the Fridge
To do this, place your pizza buns (while in a buttered baking dish) and leave in the fridge overnight. Or, place in the fridge in the morning before work, then take it out once you're home.
Some say proofing pizza dough in the fridge tastes better. I agree, it absorbs the favours better and has an ever so slightly firmer texture. But I'm never organised enough to make it that well ahead of time.
Before baking, though, I think it's best to leave it on a kitchen counter 1 hour before baking so it's not too cold.
How to Make Pizza Buns From Scratch
📖 Recipe
Pizza Buns Recipe (Tear and Share Bread)
Equipment
Ingredients
- 3 cups Very strong bread flour (such as Canadian) (530g) + extra for dusting
- 1 cup Whole milk 290g
- 1 tablespoon whole milk
- 5 tablespoon Water
- 1 & ½ tablespoon cold butter (24g)
- 1 & ½ teaspoon salt (10g)
- ½ teaspoon caster sugar
- 2 teaspoon oregano Plus extra for sprinkling
- 3 cups mature cheddar cheese 300g (or a mix of cheddar and mozarella
- 2 & ½ teaspoon instant yeast (9g)
- 300 g pizza sauce Or bolognese sauce
- 60 g pepperoni (About 15 slices)
- 1 tablespoon milk for brushing
Instructions
- Melt the butter, milk and water in a pan and until luke warm. Or, in a microwave for 1 minute 30, stirring every 30 seconds.
- In a mixer, mix the flour, yeast, salt and sugar.
- Pour the buttery milk in and knead with a dough hook on speed 2 for 8 minutes.
- Cover with oiled clingfilm and leave to double in size for 2 hours.
- Dust a clean worktop with more bread flour and turn out and knead the dough for about 30 seconds.
- Now dust a large rolling pin and roll out into a large rectangle around 28" x 10".
- Spread the pizza sauce on top, leaving a 2cm border all the way around.
- Sprinkle the grated cheese and oregano on top and pat the sides in gently.
- Tightly roll into a log, then slice into 12 slices, approximately 2.5" each.
- Butter a large, 2" deep rectangular baking dish (approximately 20x30cm).
- Place the pizza rolls in the baking tray, with the cut edge facing upwards and gently pat down before sprinkling with a touch more oregano.
- Cover again with the oiled clingfilm and leave for another 1 hour to proof again.
- Preheat the oven on gas mark 5 / 375F /190c conventional / 170c fan.
- Remove the cling film and gently brush the pizza rolls with milk and top each one with a small pinch of grated cheese if you wish.
- Bake in the middle of the oven for 35-40 minutes, or until the tops are slightly golden.
- Remove from the oven and allow to cool for 10 minutes in the tin, or until it's not too hot to handle and tear and share, or cut and serve.
Disclaimer
*This is an unofficial page and has no affiliation or endorsement from Slimming World. Slimming World's website can be found at https://www.slimmingworld.co.uk/. Any syn values are personal estimates and not verified by Slimming World.
Nutrition


Comments
No Comments