
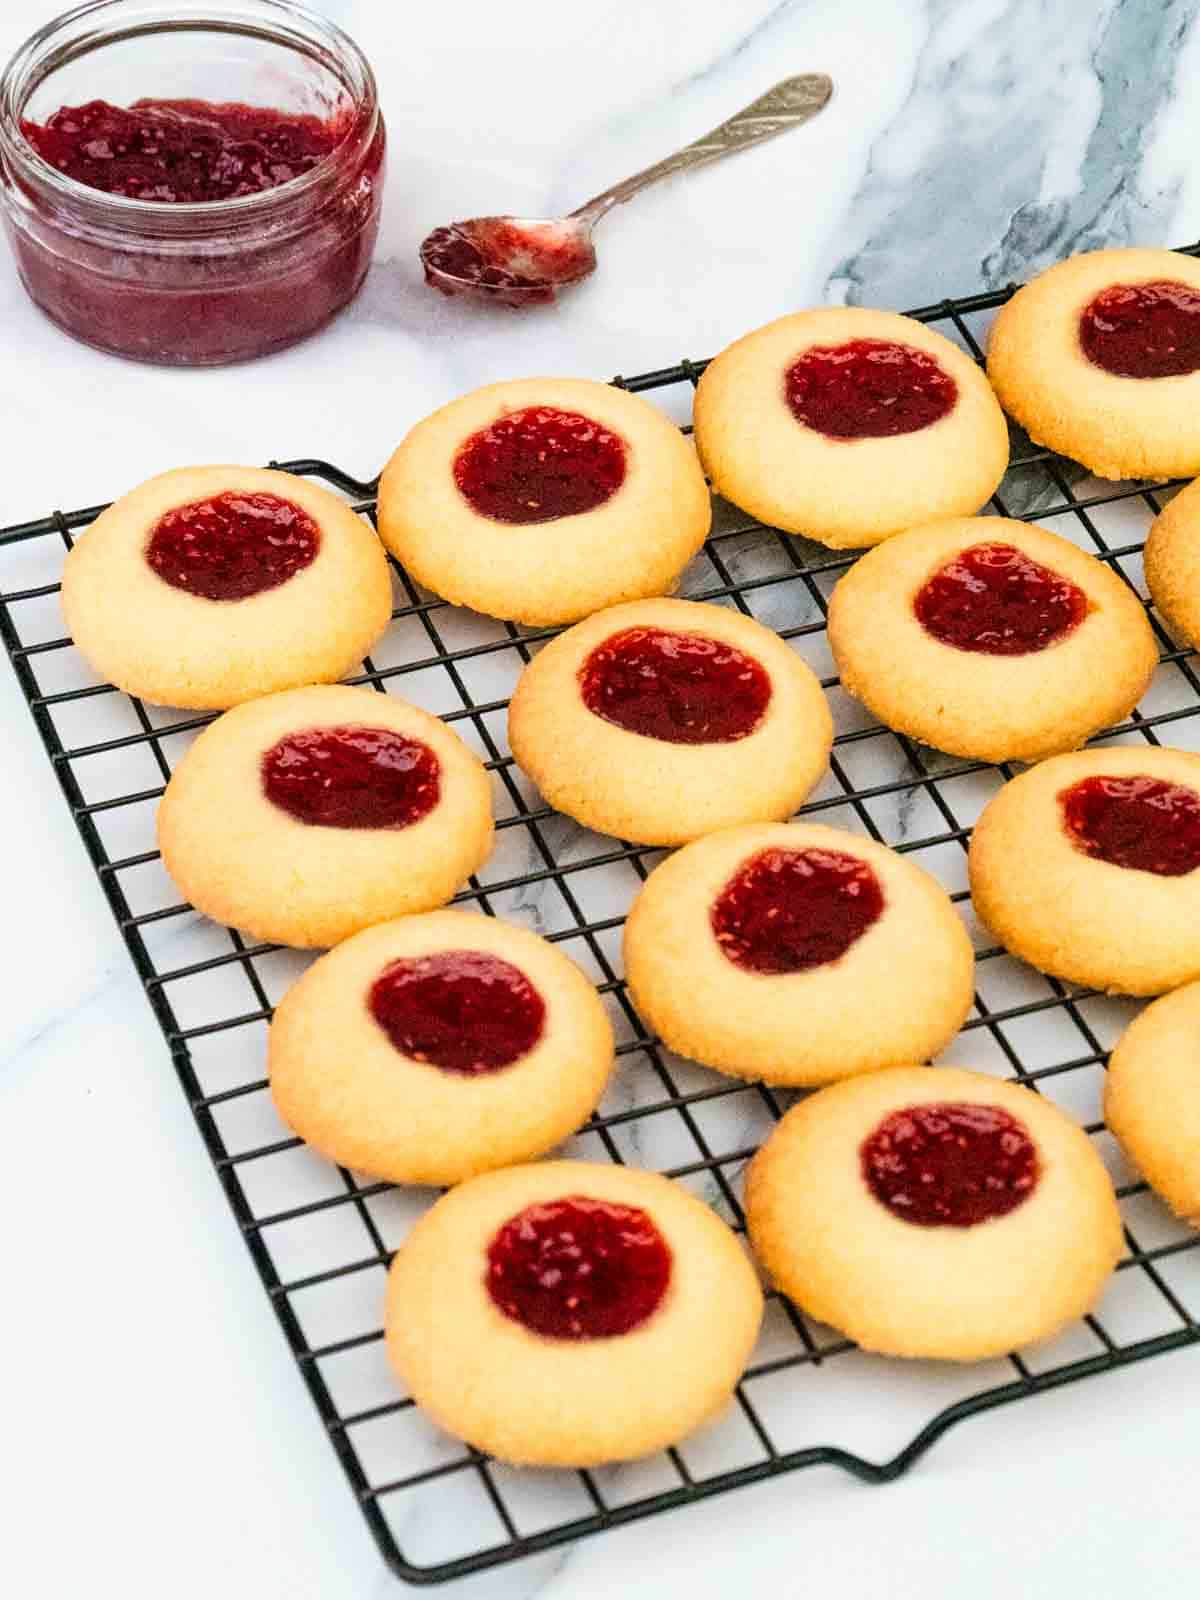
These Swedish thumbprint cookies (AKA hallongrottor) have a melt-in-your-mouth shortbread crumb and flavoured with raspberry jam centres. And the bonus is that it's so easy and perfect to make with children.
This recipe has been carefully measured in grams and cups so you can also enjoy it in the UK and United States.
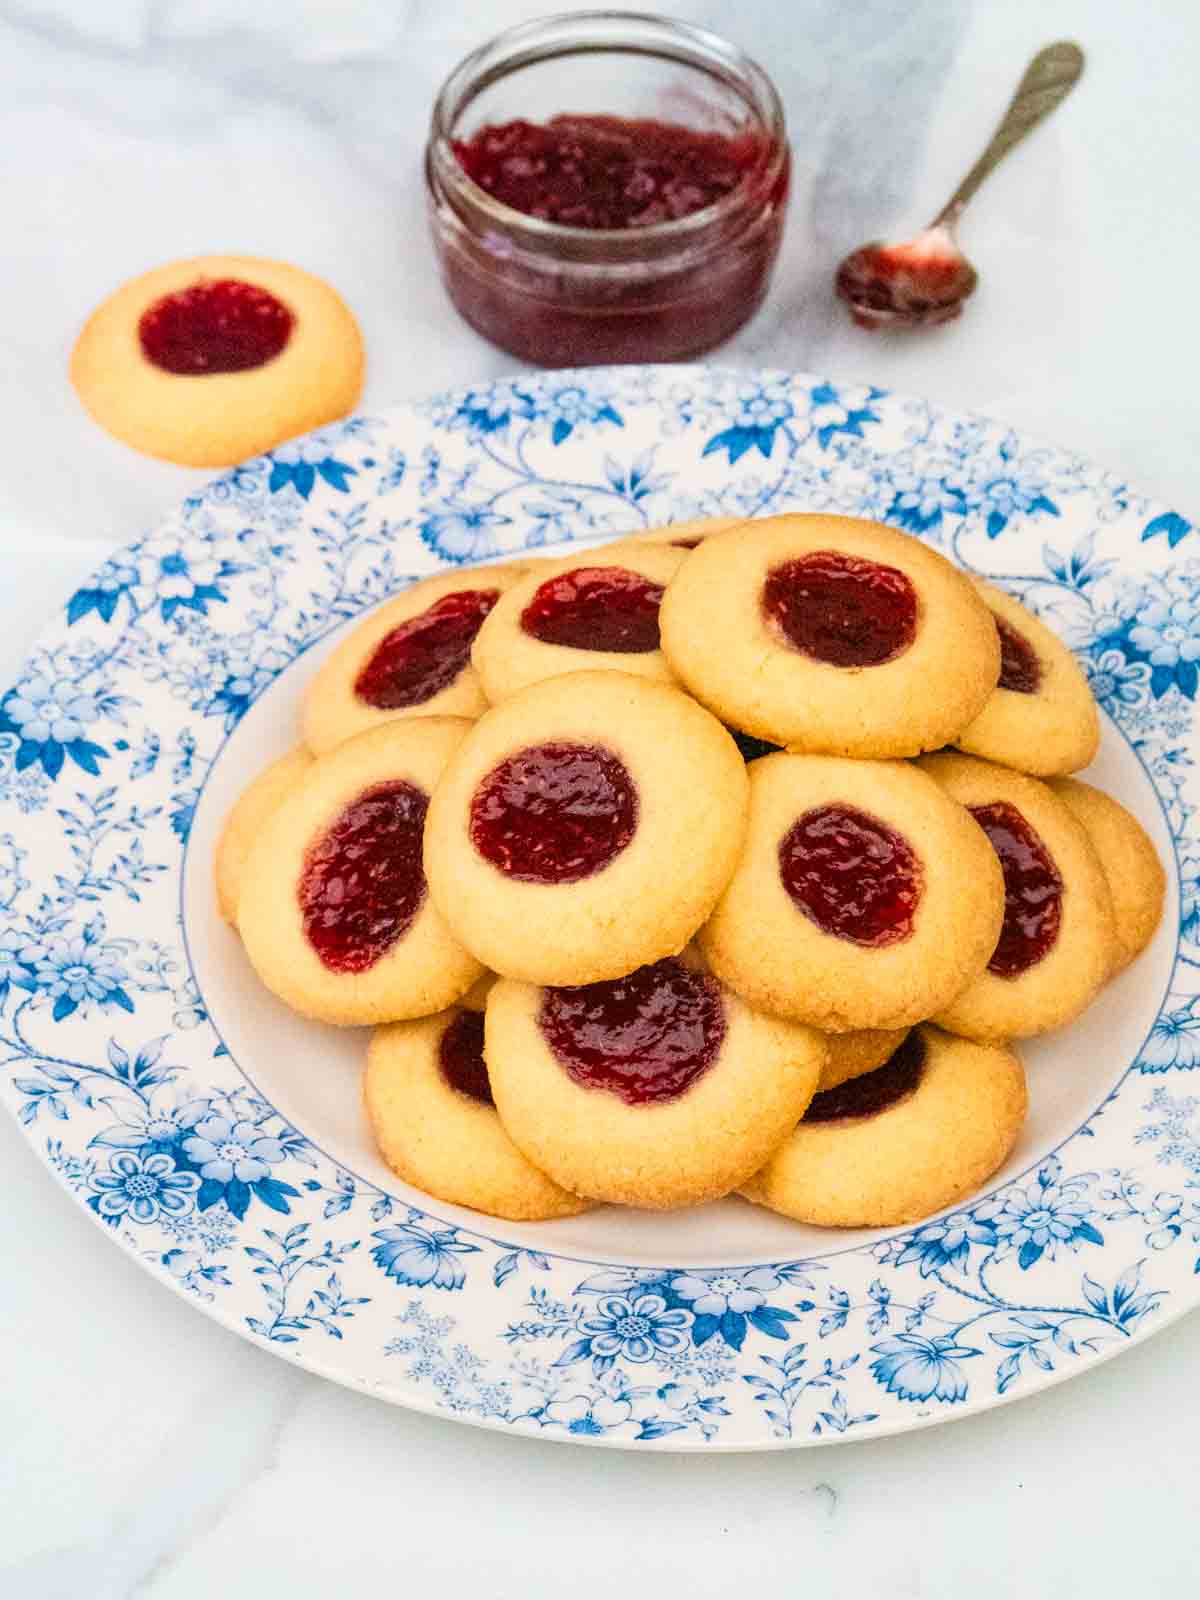
There is nothing as satisfying as Hallongrottor, means "raspberry cave" in Swedish. It's the type of cookie recipe that melts in your mouth and comforting with a hot drink to wash down the sugar.
It's a simple 4 ingredient eggless shortbread dough. And with a hint of vanilla, it's an easy snack to make with children as I did in my first year of school. (We also made butterfly buns!)
And all you need to do is mix the dough, roll little balls in your hands and poke holes with your thumb and add jam drops into each. And they're ready in 15 minutes!
Jump to:
✔️ Why You'll Love This Recipe
Here are just a handful of reasons why we think you'll love making these traditional Swedish cookies too!
- Easy to make
- Uses basic ingredients
- No fancy equipment needed
- Perfect to make with children
- Delicious with your coffee break
- Great offering during holiday season
- Easy to customise with different fillings and spices
🛒 Ingredient Notes
Please see the printable recipe card with exact ingredient quantities and preparation instructions at the bottom of this post.
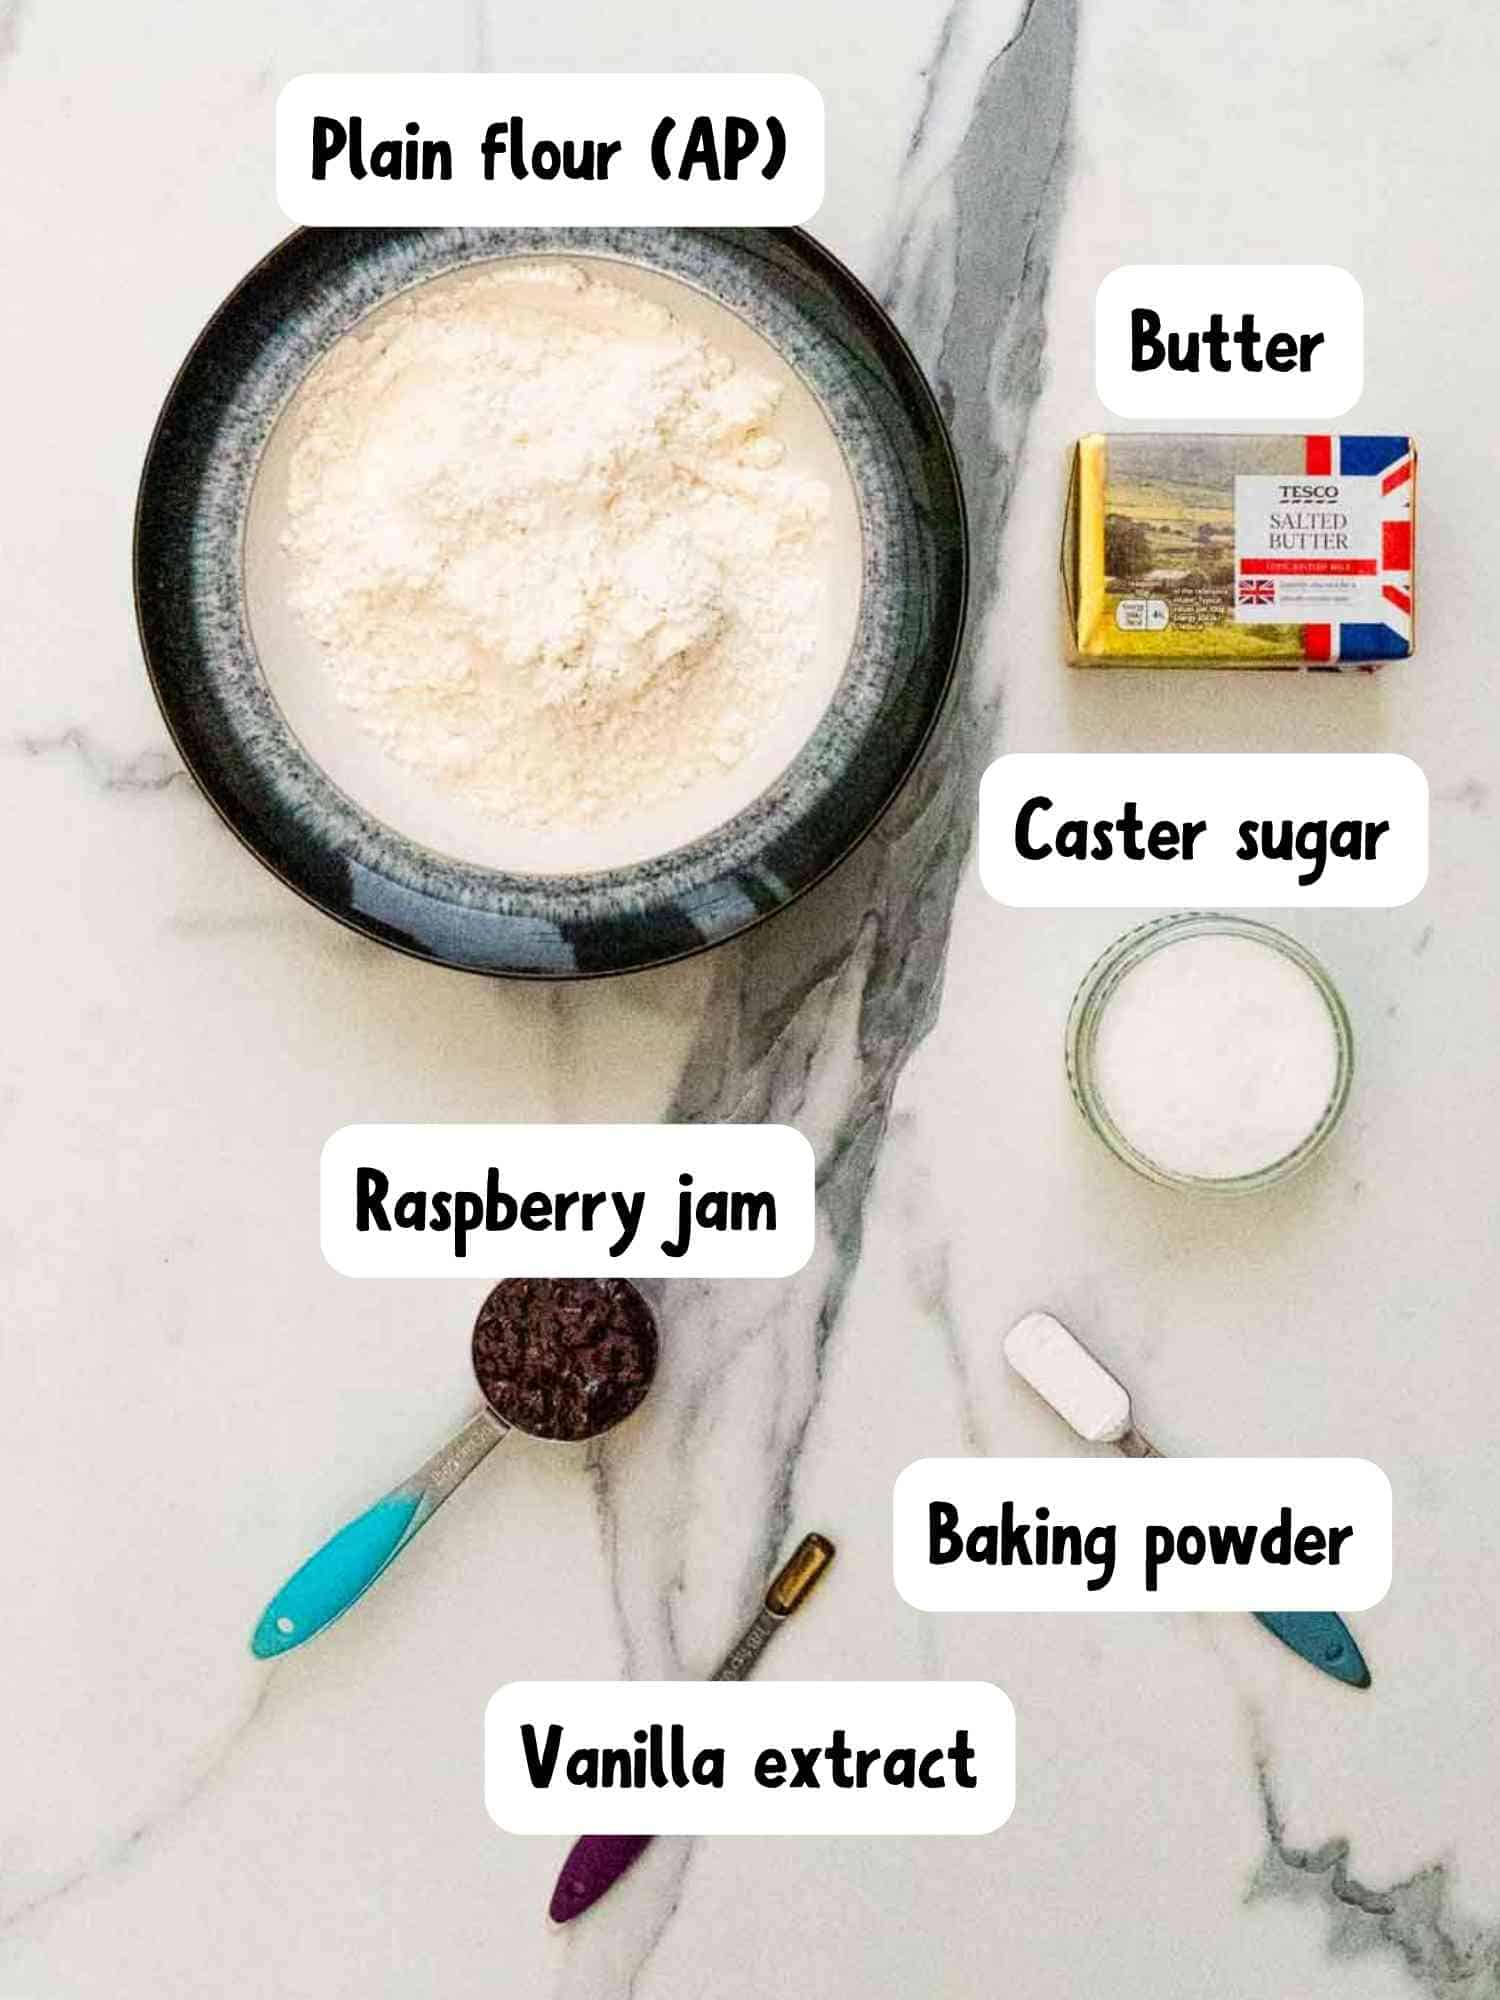
Plain flour (all purpose flour) - this is wheat flour with no rising agents
Butter - this is softened salted or unsalted butter at room temperature to prevent a crumbly dough, which also makes it easier to work with
Caster sugar - this is white baking sugar, or you can use golden caster sugar
Vanilla extract - for a subtle vanilla flavour, or you can use replace 2 teaspoon of caster sugar for vanilla sugar
Baking powder - which allows these small cookies to gently rise and expand
Raspberry jam - you can use any type of jam fillings you wish, such as apricot jam, strawberry jam or my drottningsylt Swedish jam made with blueberries and raspberries, AKA Queen's jam
📋 Instructions
First, preheat your oven to 180c degrees Celsius, 200c conventional, gas mark 6 or 400F, and line a baking sheet with parchment paper or a silicone baking mat.
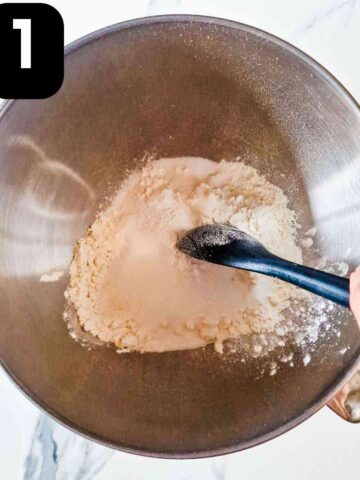
1. In a large mixing bowl, stir all of the dry ingredients together.
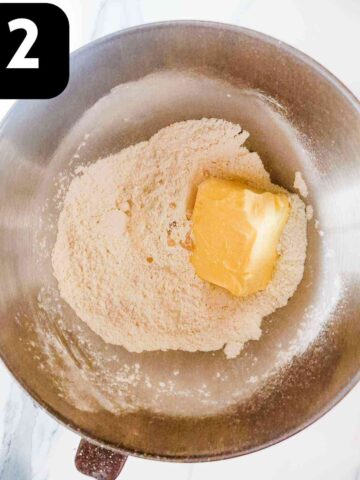
2. Add the butter and vanilla extract.
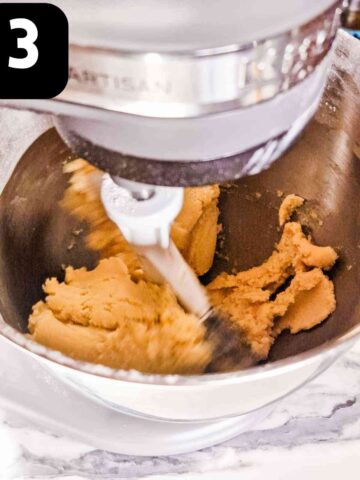
3. Mix the the dough well until it forms a ball.
You can do this with a wooden spoon, a stand mixer or food processor.

4. Using the palms of your hands, roll into small balls the size of ping pongs or 1 inch.
Now place them on a prepared baking tray about 2 inches apart to allow them to expand.
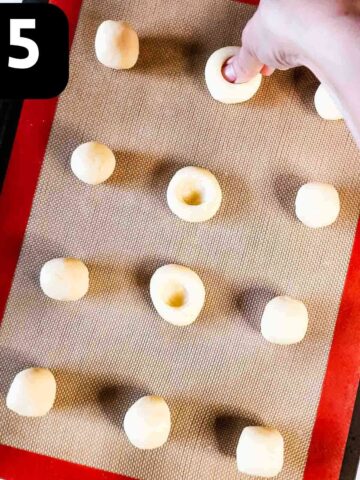
5. Using your thumb, knuckle, or the end of a utensil, make an indentation in the centre of each small cake.
Thumb tip: once you've poked your hole, swirl your thumb around a little to make them even.
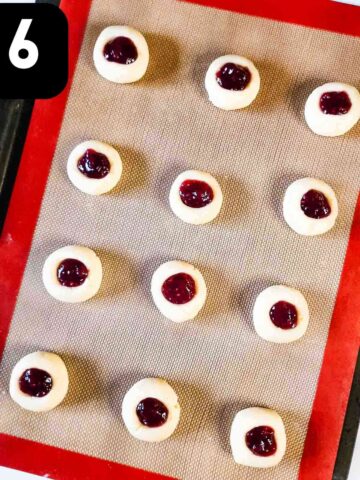
6. Fill each center of the ball with about half a teaspoon of raspberry jam or more.
Bake for 14-15 minutes, or until the edges of the cookies have started to turn golden brown.
Cool the cookies for 10 minutes before transferring to a wire rack to fully harden.
Tip: for a slightly crispy outside and softer centre, bake until the edges have just started to brown.
👩🍳 Substitutions
Depending on your dietary needs, here are a few simple swaps you can make:
- Butter: substitute with dairy free vegan butter or a plant based baking block. However, we find dairy free results in a drier less buttery cookie
- Sugar: swap for golden caster sugar or soft light brown sugar, but they will be more golden, crisp and caramelised. Or try sugar free natural sweetener
- Vanilla extract: you can use almond extracts, orange or lemon essence
- Flour: for gluten free thumb print cookies with jam, use ground oat flour (as I do for my healthy oat cookies), which also adds extra fibre
- Raspberry jam: use whatever types of jam you have at hand, such as blueberry jam, strawberry, apricot, or even fill with chocolate hazelnut spread

⚖️ Variations
Here are some different ways you can enhance and truly personalise this recipe:
- Spiced: add ½ teaspoon of cinnamon for a warming touch or crushed cardamom seeds
- Festive: at Christmas time, you could add lemon and orange zest with allspice, nutmeg, etc
- Chocolate: swap 1 tablespoon of flour for cocoa powder and fill the thumb holes with Nutella or add chocolate chips to your cookie dough
- Fruity: for a fruity shortbread cookie, mix in 100g of dried fruit
- Nuts: add crushed or chopped nuts to the dough such as pistachio, ground almonds, walnuts, or pecans. You can swap the jam for peanut butter cookies
- Glazed: for an extra special touch, drizzle a simple chocolate or icing sugar glaze, or a dusting of icing sugar
- Heart-shaped: you can make heart shaped jam cookies by embossing with your thumb. Just press twice, where your thumb impressions meet at the bottom
- Firmer: for a crumbly, firmer bite, you can swap 1 tablespoon of flour with 1 tablespoon of cornflour (corn starch) or potato starch
🔪 Equipment
Please note that as an Amazon Associate, I earn a small commission from qualifying purchases made through affiliate links.
Mixing bowl and wooden spoon, or you can use a kitchen aid to ease pressure off your hands and arms if making a large batch.
Silicone baking mat is my favourite way to bake thumbprint jam cookies as they don't stick and they are reusable. Or you can use baking paper on a baking tray.
Measuring spoons, and measuring cups or kitchen scales - depending whether you are weighing in grams or cups to enjoy wherever you are in the world
❄️ Storage
Storing - to store thumbprint cookies, place them in an airtight container for up to 3 days. I also separate the layers with pieces of baking paper.
Freezing - once cooled, store in a freezer-safe container and freeze for up to 3 months, and defrost before eating
💡Pro Tips
- Use softened butter so that it's easier to combine the cookie dough and will result in a more even and less crumbly or cracked cookie
- If you have patience, chill the dough in the fridge for 30 minutes for the fat to firm, for perfectly shaped balls
- Avoid overbaking by only baking them until the edges have started to slightly brown
- For perfect round jam thumbprint biscuits, space each ball at least 2 inches apart as they will spread out
- Cool your cookies fully before eating so that they firm up (hard to resist, I know!!
- For evenly sized cookies, you can shape the dough into a long roll of sausage and cut it into 24 slices before rolling each in your hands
- For super easy thumbprint cookie bars you can press the dough in a lined 8x8" square baking dish and slice after baking
🍽️ Serving Suggestions
Hot drink - enjoy with a steaming cup of tea or coffee, or indulge with an iced coffee
Ice cream - they're delicious as broken biscuits and mixed into a soft scoop of vanilla ice cream. Or make into deluxe ice cream sandwiches
Party platter - slice and stack on a serving plate for special occasions like an easy entertaining recipe at a party or as an after Christmas dinner treat
Picnic - they travel well as a picnic recipe or in a lunch box to take to school or work
❓ FAQ
Yes, you can use other types of jam, such as strawberry, blueberry, or even apricot. You can also use preserves or marmalade.
Yes, you can freeze this hallongrotta thumb print cookies recipe after baking. Once they have cooled, store them in a freezer safe container and freeze for up to 3 months. You can also freeze the raw cookie dough and defrost before using.
For vegan jam thumbprint cookies, use a plant based butter or baking block and ensure the sugar you use does not use bone char.
Fill the holes with jam before baking, which will cook the sugars in the jam and harden a little.
➕ More Cookie Recipes
Looking for other recipes like this? Try these:


Why not subscribe to my newsletter to hear about the latest recipes and exclusive news from Tastefully Vikkie? You can also connect with me on social media at Facebook, TikTok, Twitter, and Instagram!
📖 Recipe

Hallongrottor - Swedish Jam Thumbprint Cookies Recipe
Equipment
Ingredients
- 235 g Plain flour (1 + ½ cup All Purpose)
- 90 g Caster sugar (8 tbsp)
- 1 teaspoon Baking powder
- 200 g Salted butter (¾ cup + 2 tbsp) softened at room temperature
- ⅛ teaspoon Vanilla extract
- 70 g Raspberry jam (¼ cup) or more
Instructions
- First, preheat your oven to 180c degrees Celsius, 200c conventional, gas mark 6 or 400F, and line a baking sheet with parchment paper or a silicone baking mat.Then in a large mixing bowl, stir all of the dry ingredients together.
- Add the butter and vanilla extract.
- Mix the the dough well until it forms a ball. You can do this with a wooden spoon, a stand mixer, or a food processor.
- Using the palms of your hands, roll into small balls the size of ping pongs or 1 inch.Now place them on a prepared baking tray about 2 inches apart to allow them to expand.
- Using your thumb, knuckle, or the end of a utensil, make an indentation in the centre of each small cake.Thumb tip: once you've poked your hole, swirl your thumb around a little to make them even.
- Fill each center of the ball with about half a teaspoon of raspberry jam or more and bake for 14-15 minutes, or until the edges of the cookies have started to turn golden brown.Cool the cookies for 10 minutes before transferring to a wire rack to fully harden.
Disclaimer
*This is an unofficial page and has no affiliation or endorsement from Slimming World. Slimming World's website can be found at https://www.slimmingworld.co.uk/. Any syn values are personal estimates and not verified by Slimming World.
Video
Notes
- Use softened butter so that it's easier to combine the cookie dough and will result in a more even and less crumbly or cracked cookie
- If you have patience, chill the dough in the fridge for 30 minutes for the fat to firm, for perfectly shaped balls
- Avoid overbaking by only baking them until the edges have started to slightly brown
- For perfect round jam thumbprint biscuits, space each ball at least 2 inches apart as they will spread out
- Cool your cookies fully before eating so that they firm up (hard to resist, I know!!
- For evenly sized cookies, you can shape the dough into a long roll of sausage and cut it into 24 slices before rolling each in your hands
- For super easy thumbprint cookie bars you can press the dough in a lined 8x8" square baking dish and slice after baking
- Butter: substitute with dairy free vegan butter or a plant based baking block. However, we find dairy free results in a drier less buttery cookie
- Sugar: swap for golden caster sugar or soft light brown sugar, but they will be more golden, crisp and caramelised. Or try sugar free natural sweetener
- Vanilla extract: you can use almond extracts, orange or lemon essence
- Flour: for gluten free thumb print cookies with jam, use ground oat flour (as I do for my healthy oat cookies), which also adds extra fibre
- Raspberry jam: use whatever types of jam you have at hand, such as blueberry jam, strawberry, apricot, or even fill with chocolate hazelnut spread
- Spiced: add ½ teaspoon of cinnamon for a warming touch or crushed cardamom seeds
- Festive: at Christmas time, you could add lemon and orange zest with allspice, nutmeg, etc
- Chocolate: swap 1 tablespoon of flour for cocoa powder and fill the thumb holes with Nutella or add chocolate chips to your cookie dough
- Fruity: for a fruity shortbread cookie, mix in 100g of dried fruit
- Nuts: add crushed or chopped nuts to the dough such as pistachio, ground almonds, walnuts, or pecans. You can swap the jam for peanut butter cookies
- Glazed: for an extra special touch, drizzle a simple chocolate or icing sugar glaze, or a dusting of icing sugar
- Heart-shaped: you can make heart shaped jam cookies by embossing with your thumb. Just press twice, where your thumb impressions meet at the bottom
- Firmer: for a crumbly, firmer bite, you can swap 1 tablespoon of flour with 1 tablespoon of cornflour (corn starch) or potato starch
- Store - to store thumbprint cookies, place them in an airtight container for up to 3 days. I also separate the layers with pieces of baking paper
- Freeze - once cooled, store in a freezer-safe container and freeze for up to 3 months, and defrost before eating


Nadiyah
Loved it! But it did take more time to make than what it said on this…