
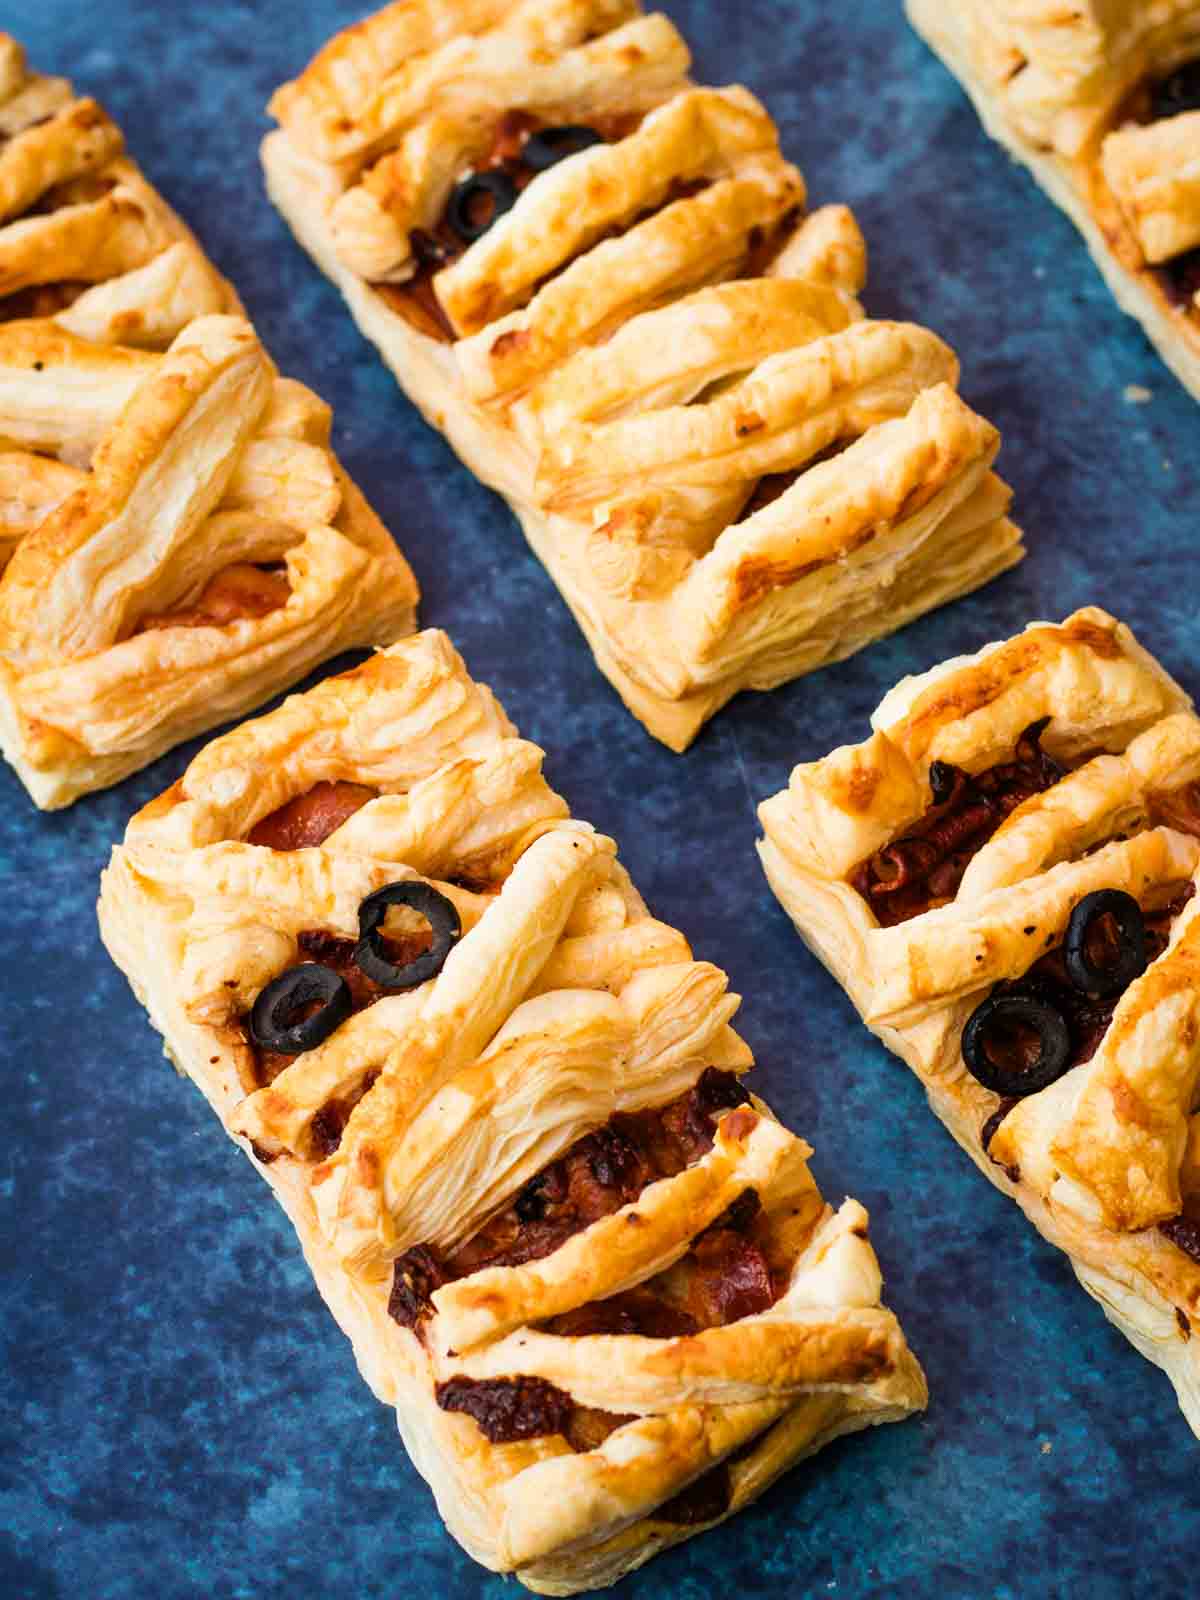
Love bacon and cheese? Then you'll love these savory Halloween Mummy hand pies. Slices of puff pastry are topped with mustard, bacon, and cheese, then dressed with mummy bandages and olive eyes.

If you love Halloween, but don't have a sweet tooth, nothing says Happy Halloween this time of year more than making these easy Halloween treats!
Almost identical to my cheese and bacon turnovers, they're puff pastry mummies filled with cheese, bacon and mustard.
Then baked in the oven on a prepared baking sheet for a quick, easy and delicious treat.
Jump to:
✔️ Why You'll Love This Recipe
Here's why we think tucking into a mummy pie will get you in the Halloween spirit:
- Fun and easy to make
- Only uses a handful of ingredients
- Perfect addition for a Halloween party
- Kinder on the teeth as there's no sugar
🛒 Ingredient Notes
Please see the printable recipe card with exact ingredient quantities, preparation instructions and nutritional information at the bottom of this post.
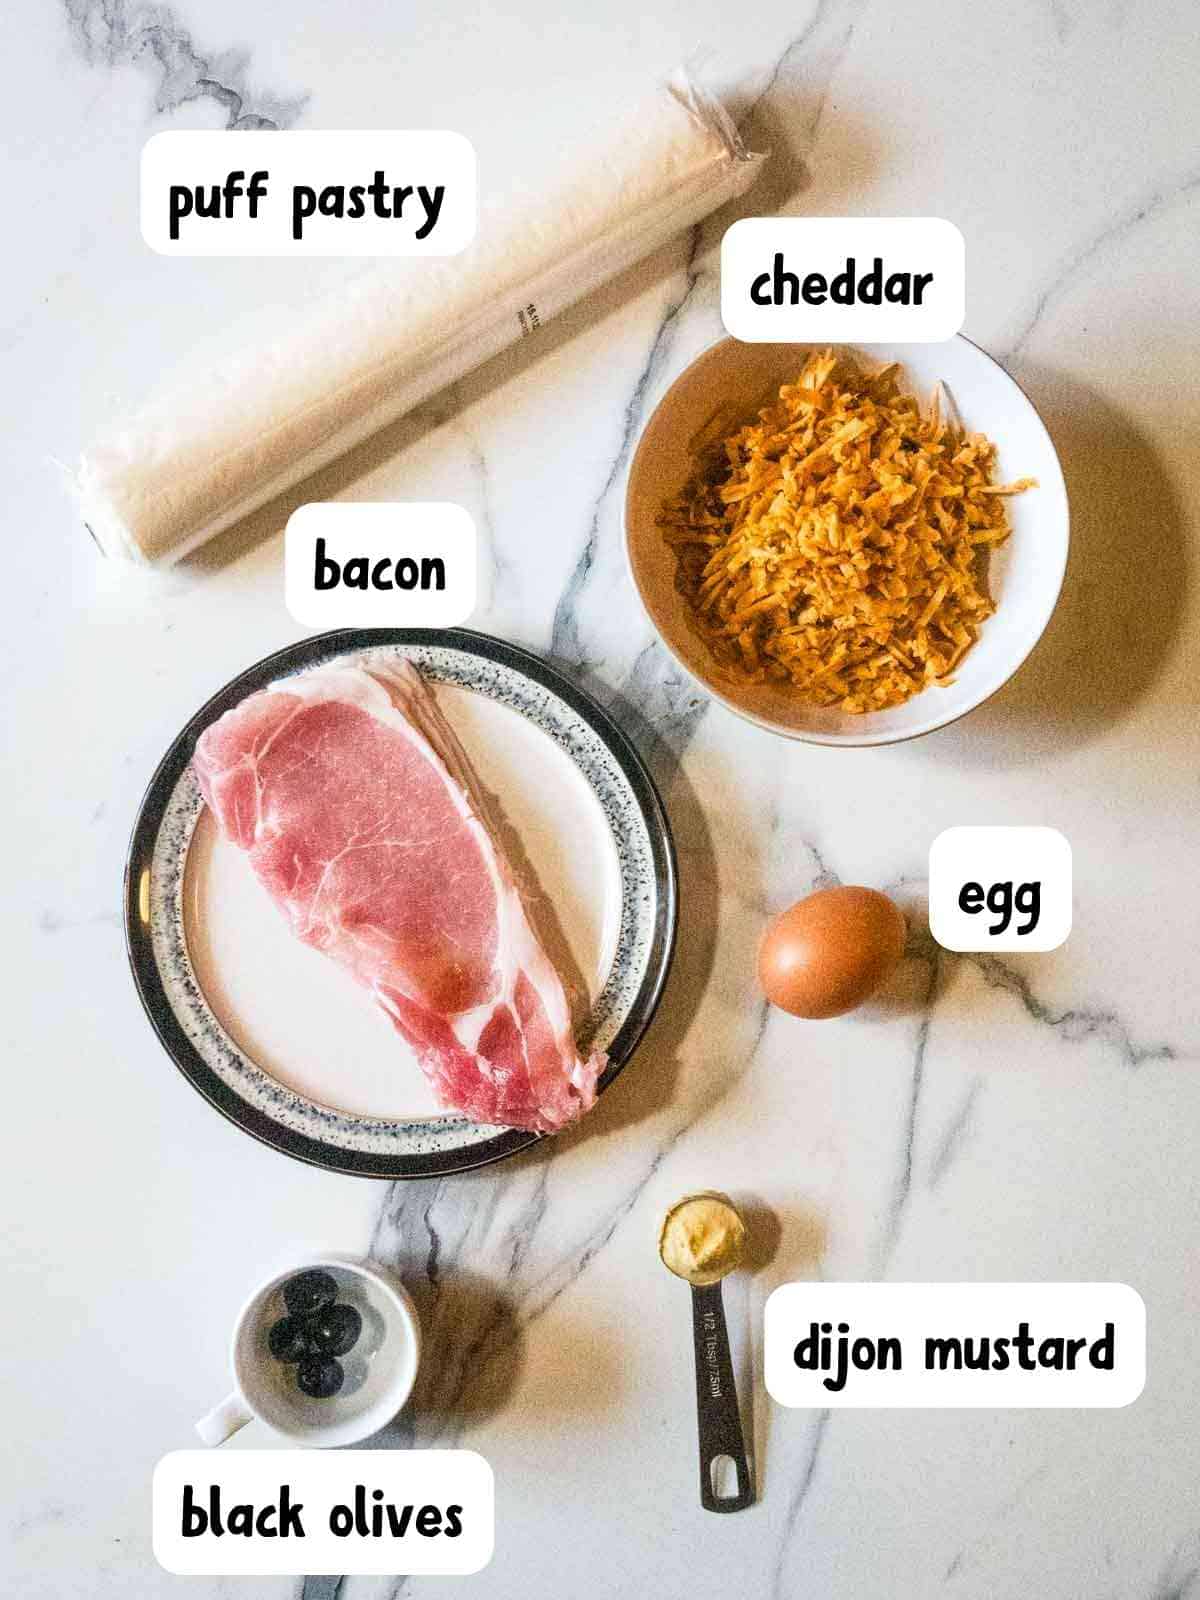
Bacon rashers - you can use use smoked or unsmoked, fat removed or choose streaky bacon, which are grilled, fried or air-fried first
Puff pastry - this is a ready made puff pastry sheet with straight edges, removed form the fridge 10 minutes before unrolling. Or you can use my homemade pie crust here, but it will not puff up
Dijon mustard - to add some heat and tang to enhance the cheese, or you can use tomato paste (puree) if preferred
Cheddar cheese - we used a gifted PR sample of Ilchester's Nightmare on Market cheddar cheese with smoky chipotle and chilli
Egg - whisked for an egg wash to help seal the pastry together and encourage a golden colour
Black olives - thinly sliced as a savory alternative to googly eyes
📋 Instructions
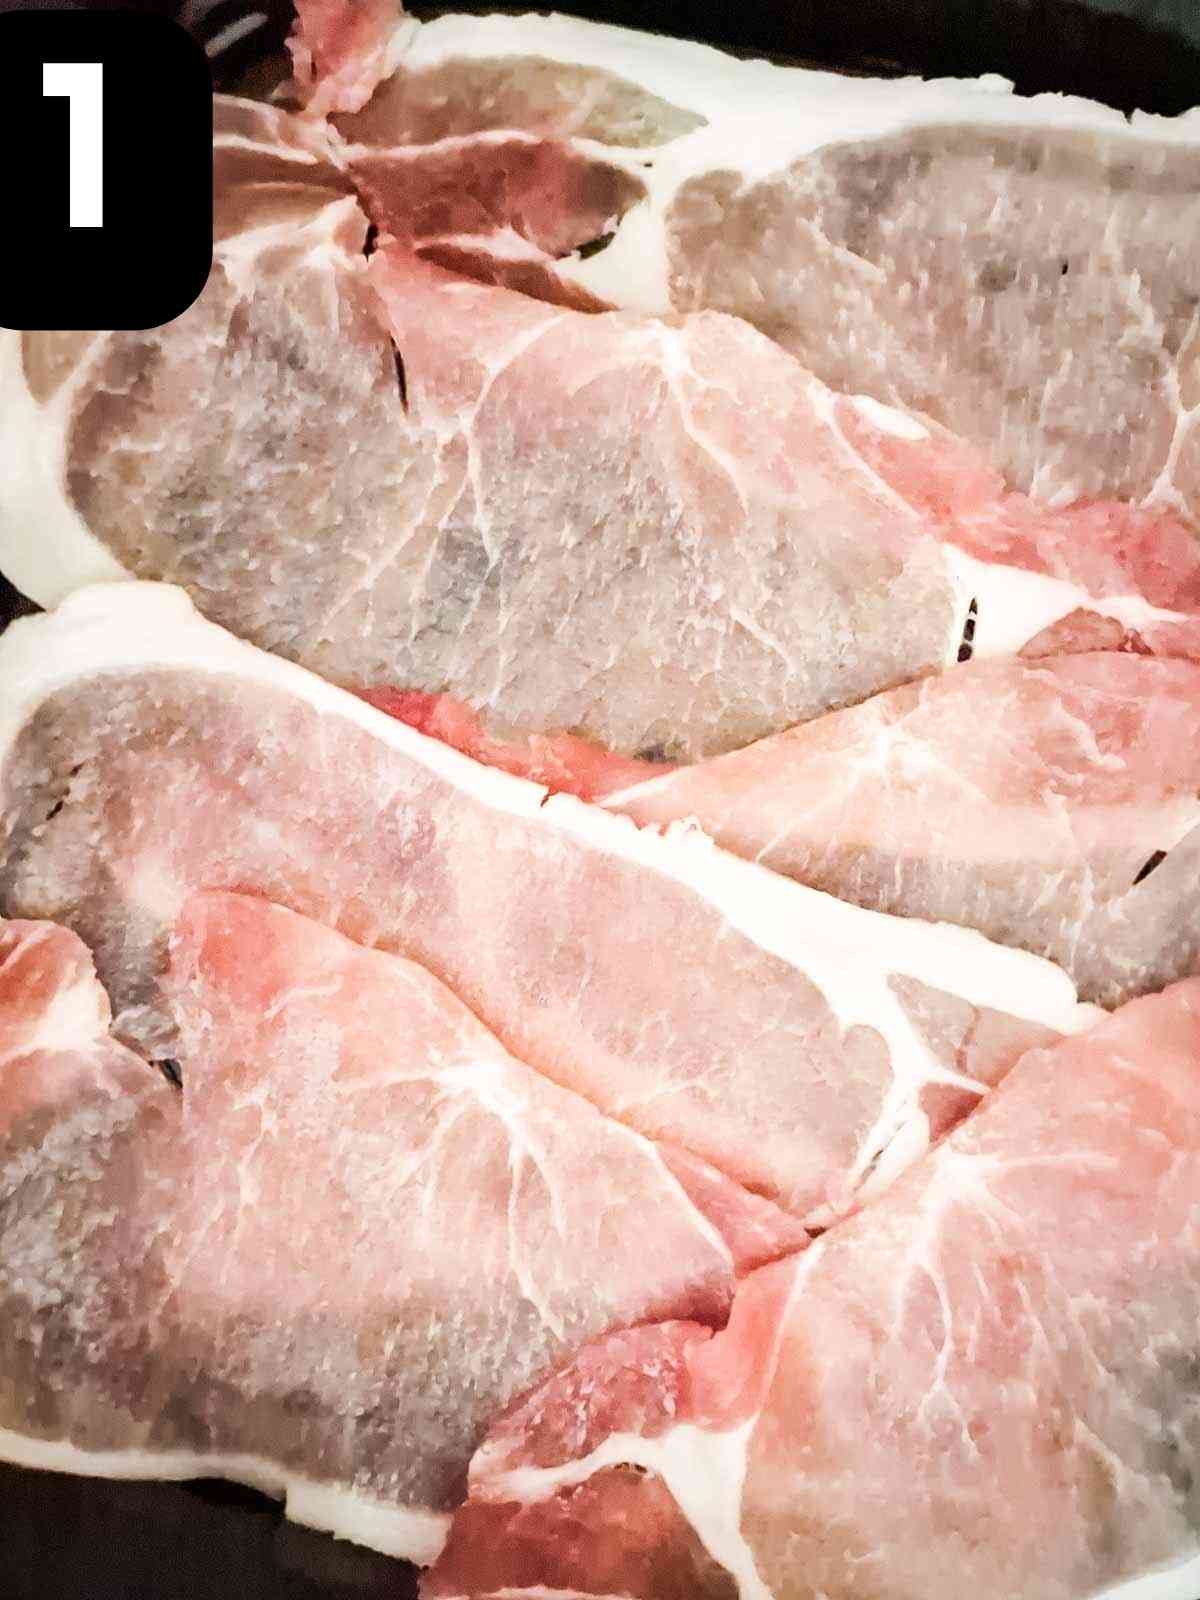
1. First, remove the store-bought pie crust from the fridge and preheat your oven to 180c fan, 200c conventional, gas mark 7 or 400F.
Meanwhile, grill or fry your bacon rashers for a few minutes on each side.
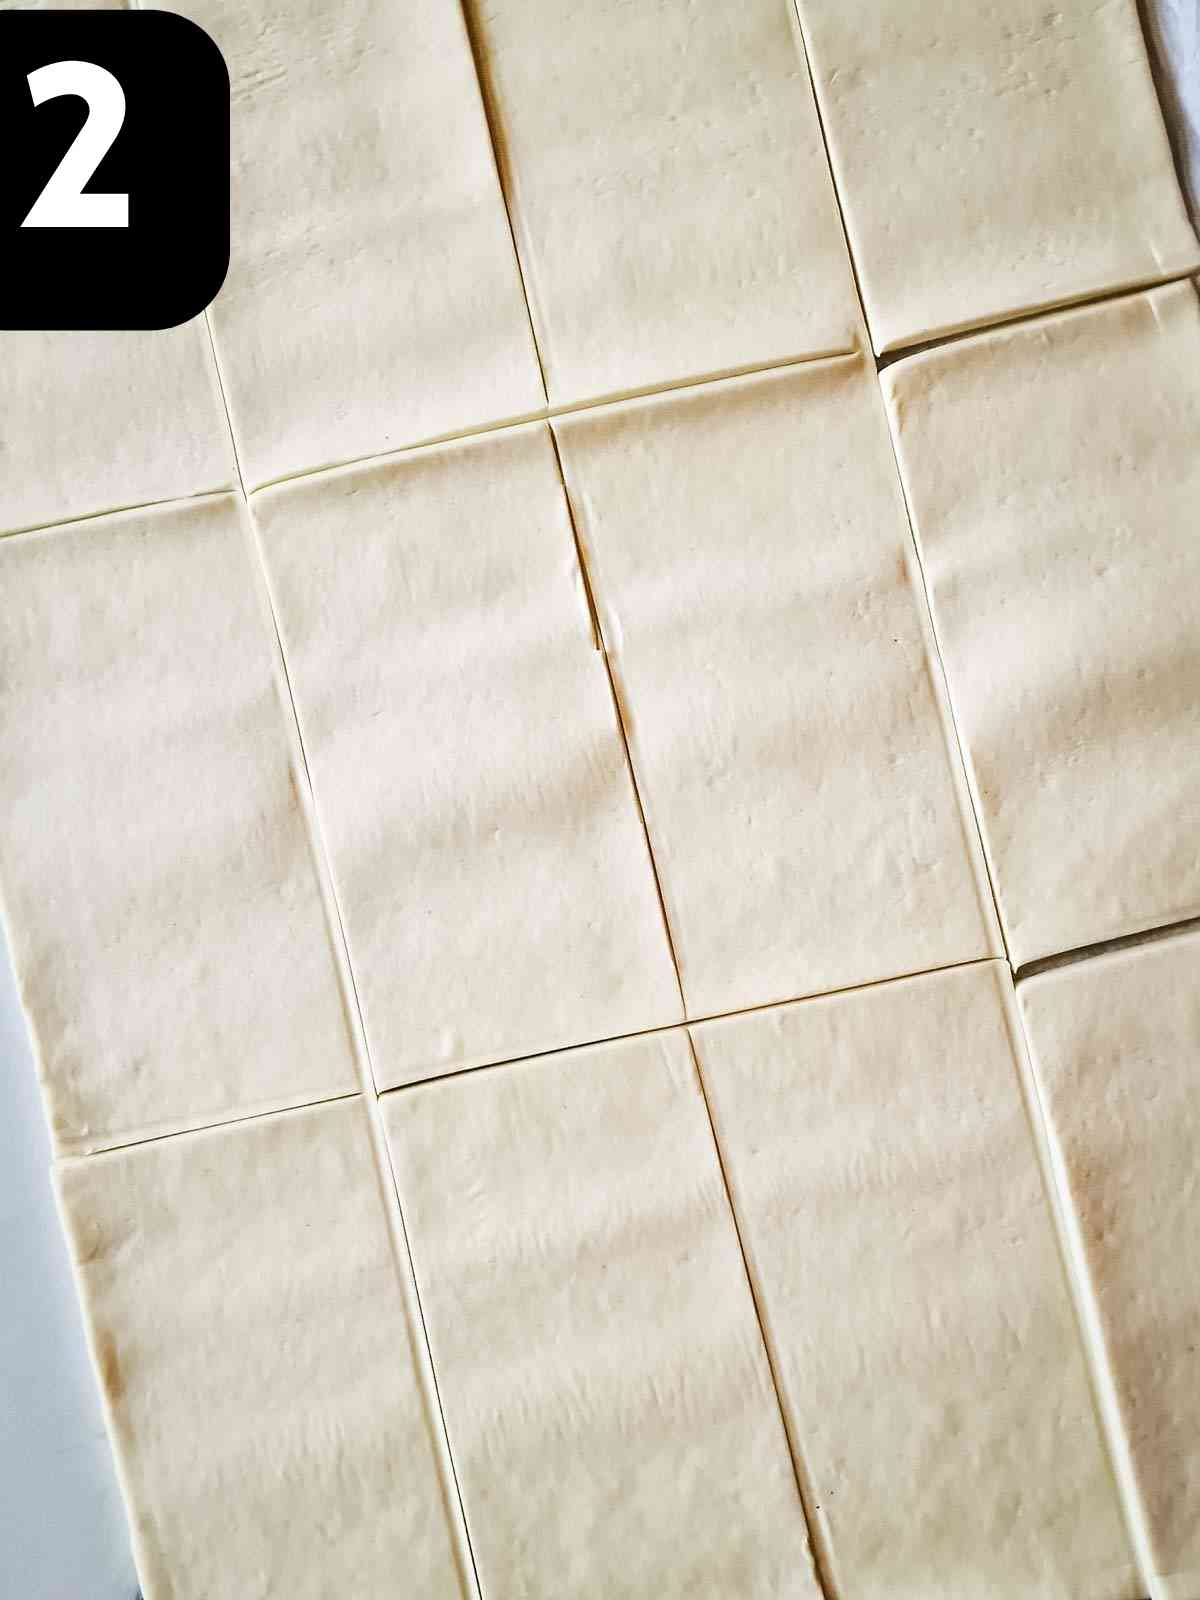
2. Next, unroll your pastry on a lightly floured work surface, or using the baking paper that usually comes with it.
using a ruler and the edge of a large baking sheet, slice the sheet of dough into 12 rectangular dough strips.
See my video in the recipe card if needed.
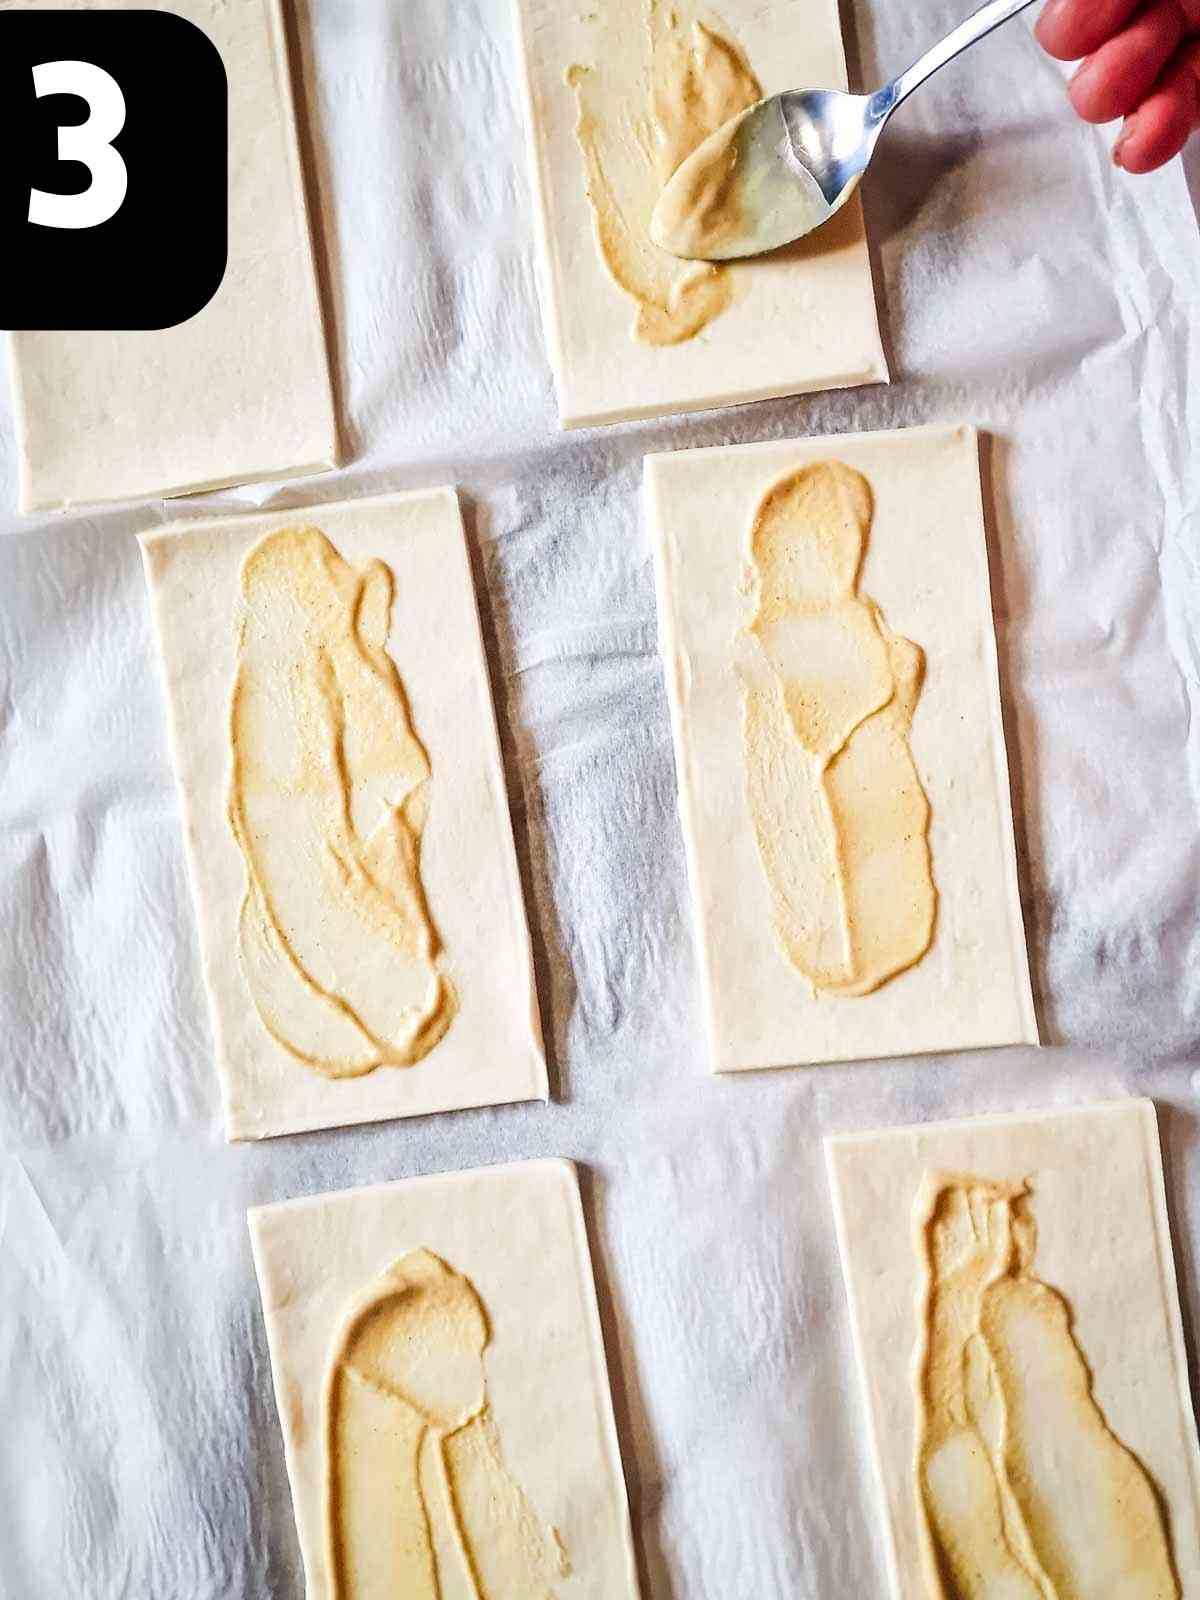
3. Now spread some Dijon mustard on 6 of the strips, leaving a gap along the edges.
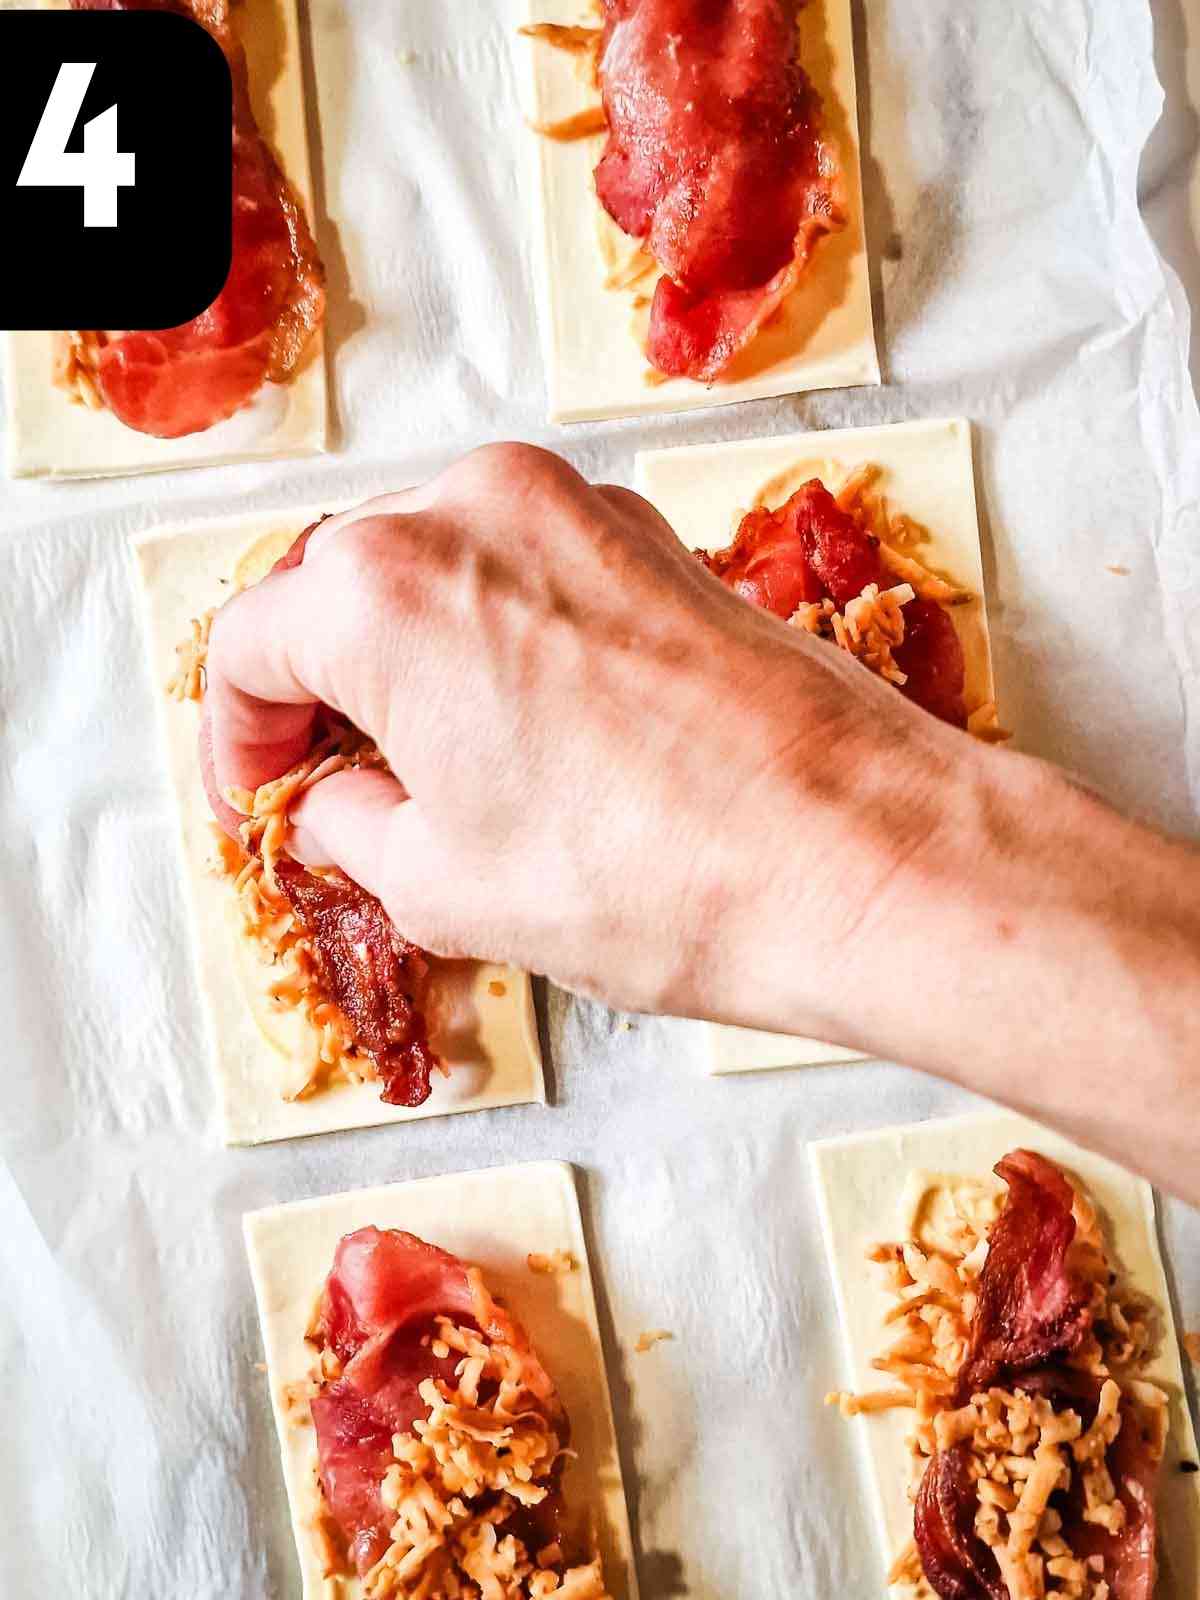
4. Then add a pinch of grated cheese, a cooked bacon rasher, and another pinch of cheese.

5. Next, brush some egg wash along the edges.
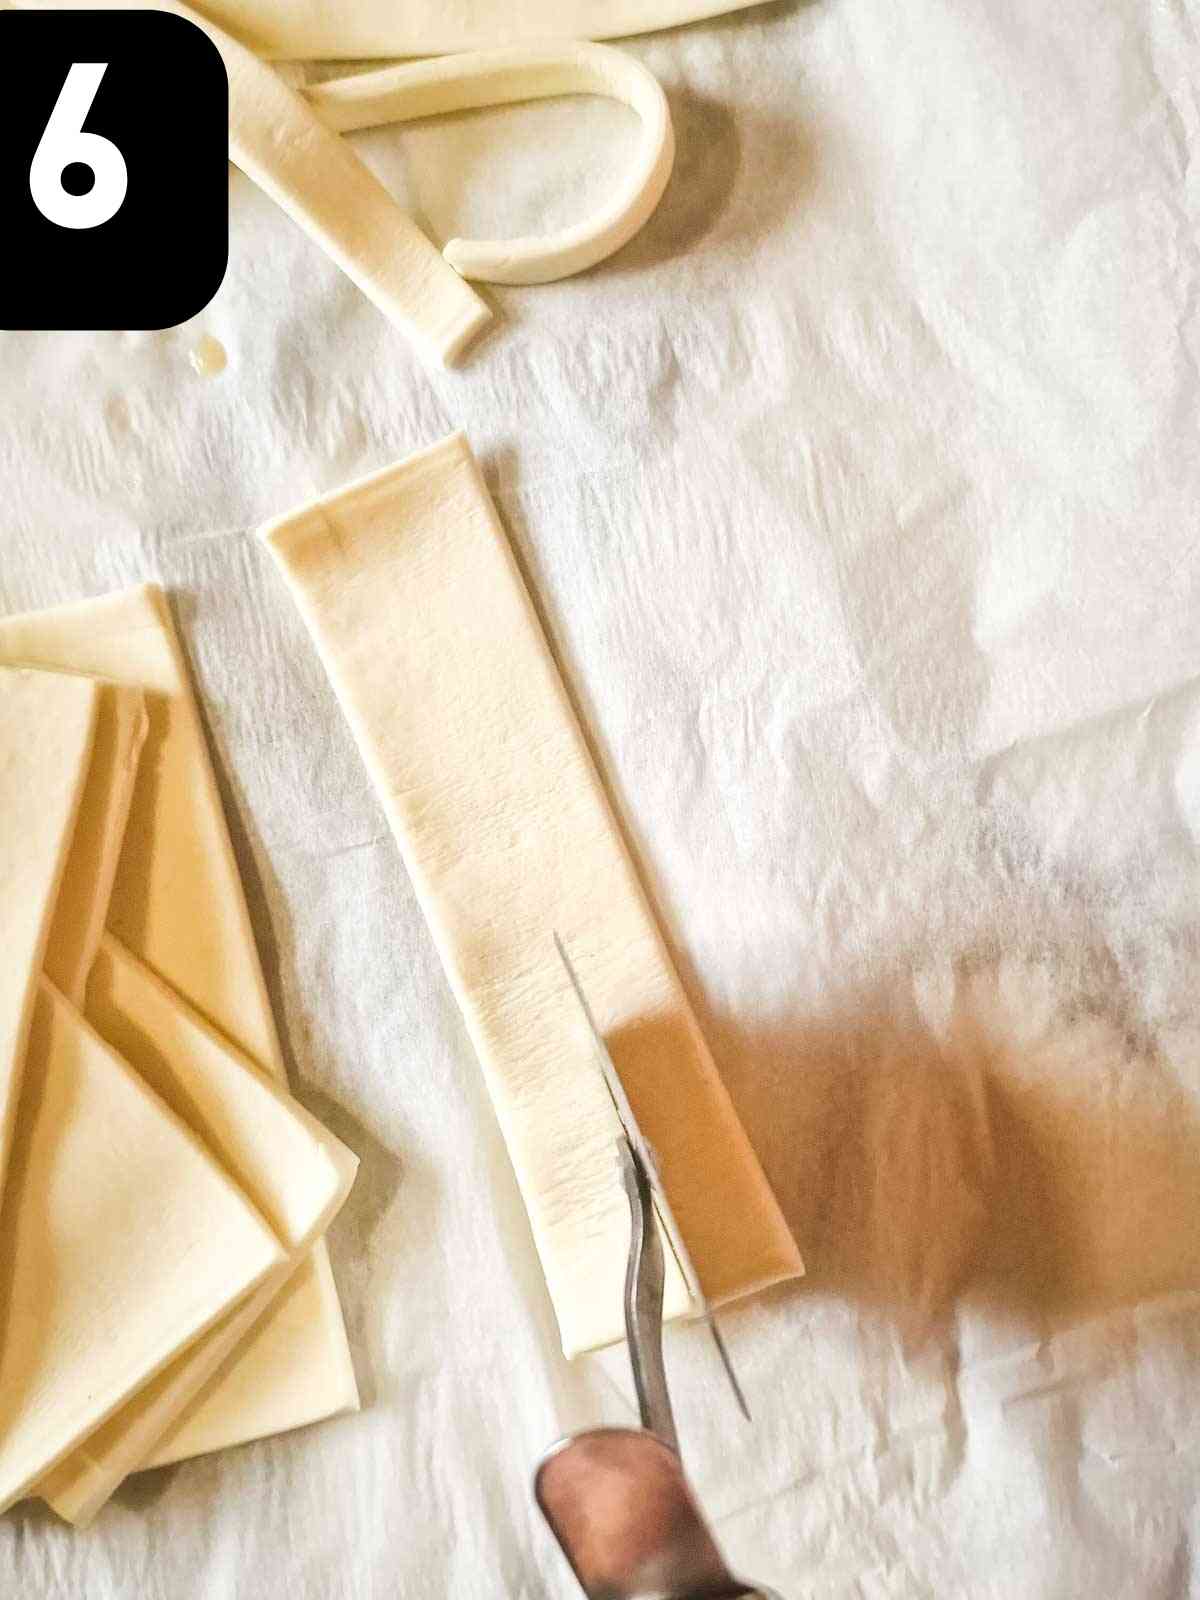
6. Using a pizza wheel cutter, slice the other 6 into thin strips.
Note: you don't have to be perfect.
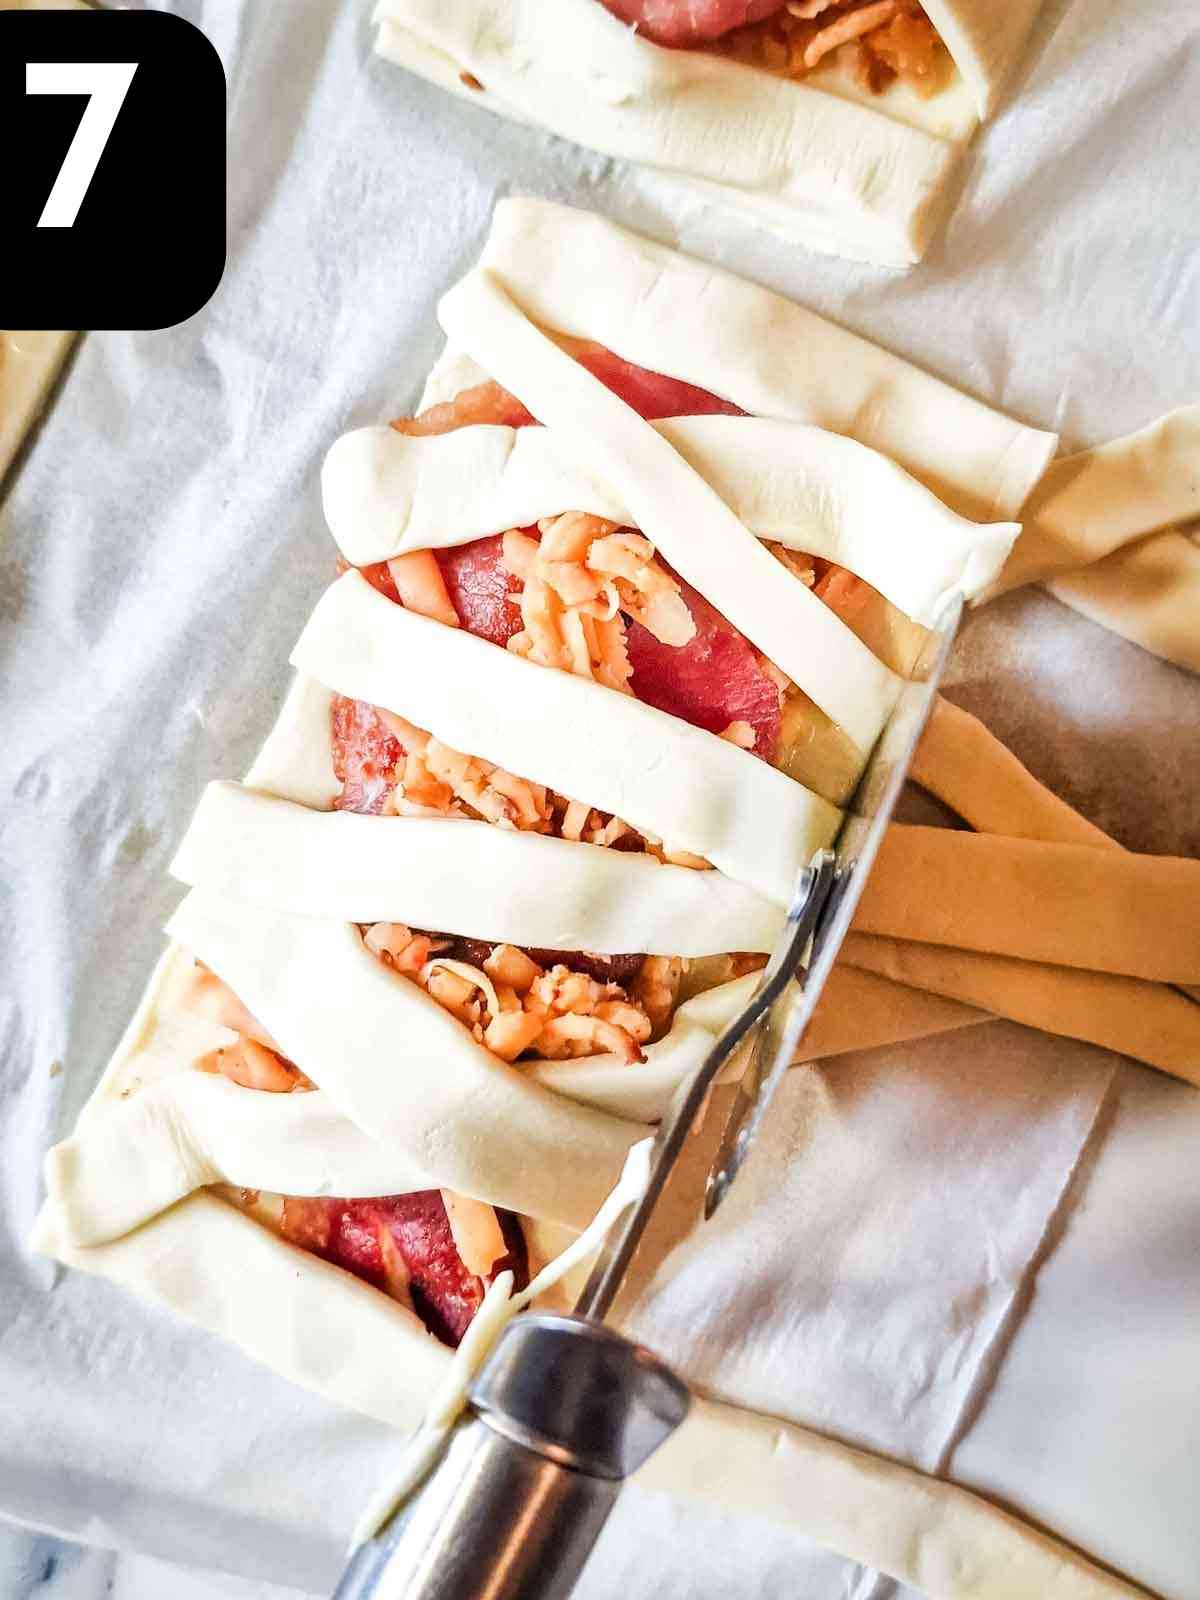
7. Now starting from one of the longest sides, place the strips across the top haphazardly.
Make sure the tops and bottoms have a strip to seal any cheese filling from oozing out.
Then slice the excess of the stripes off with your pizza cutter
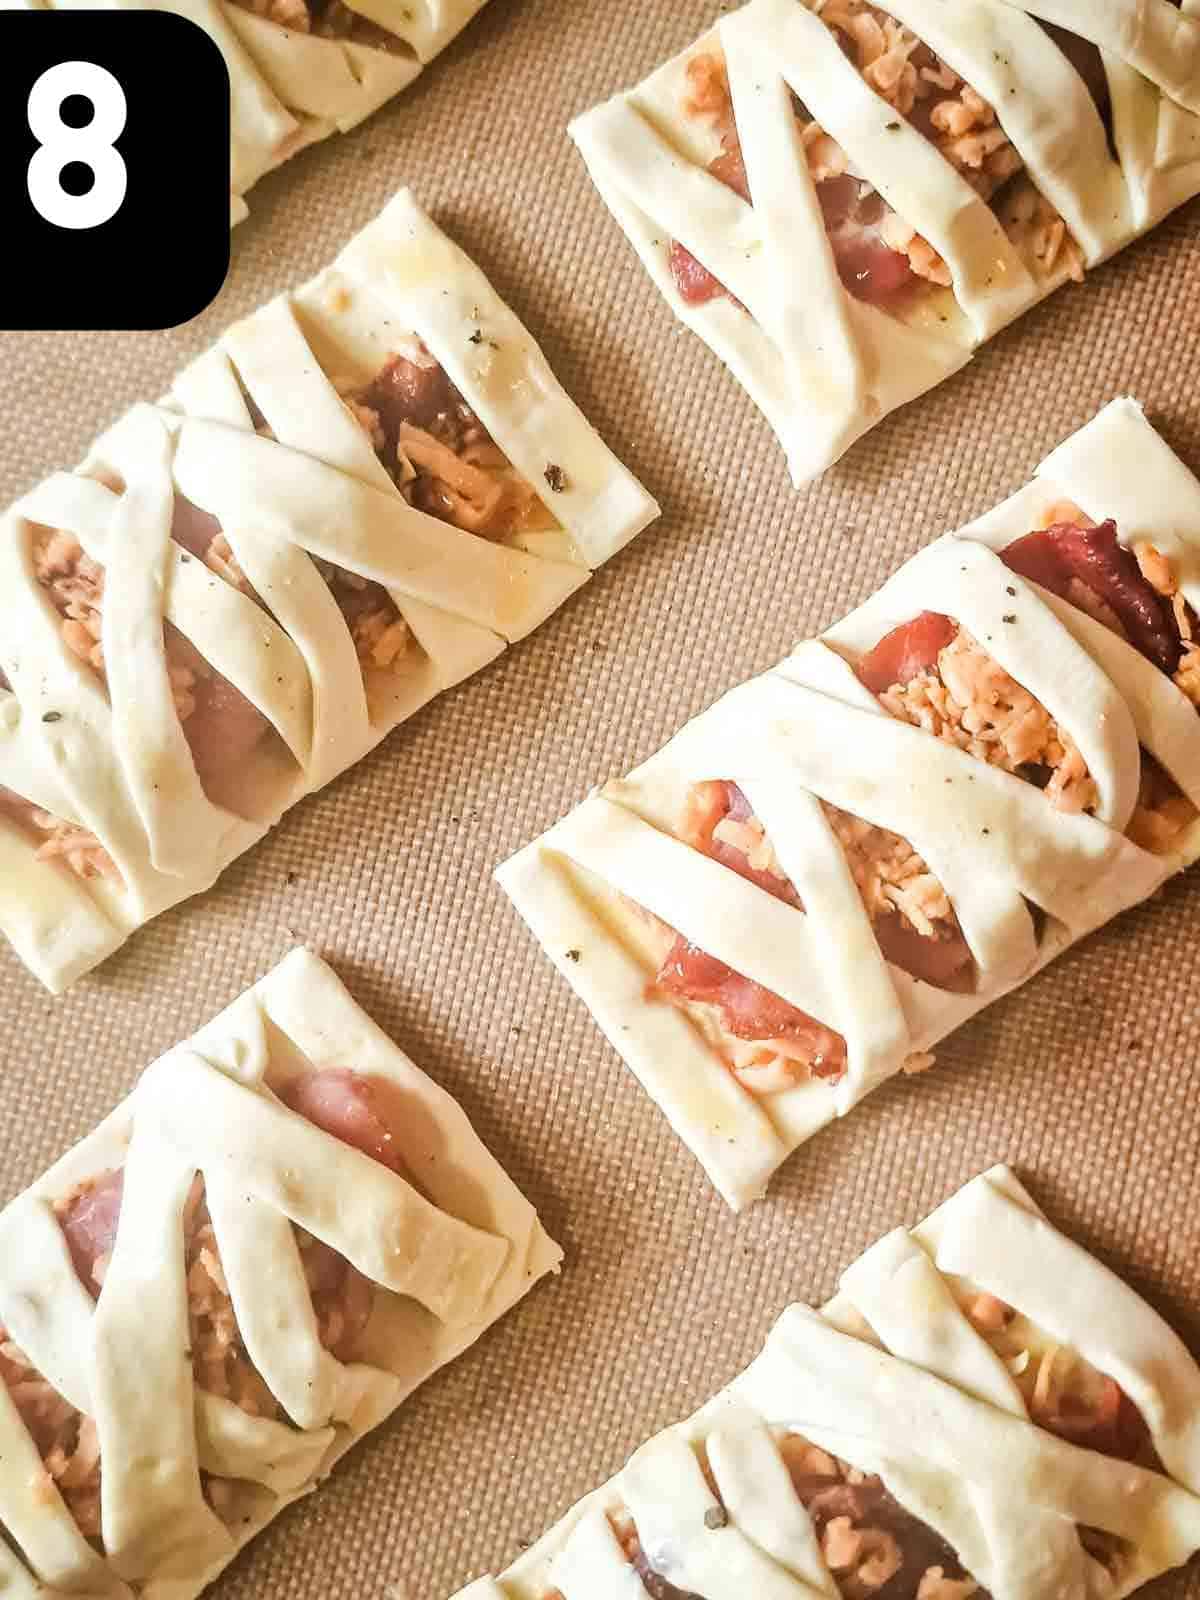
8. Place your spooky mummy hand pies onto a parchment-lined baking sheet.
Brush the tops with more of the egg wash, then sprinkle with a pinch of salt or pepper.
Then bake for 15-20 minutes until golden brown. Cool on a wire rack for 10 minutes before adding olive eyes and eating.
Tip: if you don't want the strips of pie dough to rise as much on your little mummies, then I recommend using a rolling pin to stretch and flatten 6 sheets.
👩🍳 Substitutions
Depending on your dietary needs, here are a few simple swaps you can with these simple ingredients and still make a fun and tasty treat:
- Puff pastry - if you can't find it in your local grocery store, then you could try making your own pie pie crust recipe with strong all purpose flour and unsalted butter here. Or use a gluten-free pie crust
- Dijon mustard - swap for English, horseradish, tomato puree or green or red pesto
- Cheese - swap for parmesan, gruyere, cream cheese, or mix the two
- Bacon - use lean turkey rashers, or meat free bacon for a vegetarian option. Alternatively, you could use cooked ham or sausage
- Egg - swap for milk if preferred

⚖️ Variations
Here are some different ways you can enhance and truly personalise this recipe:
- Turnovers - see photo above where the pastry is cut into 6 squares and simply overlapped at two corner
- Mummy pumpkin hand pies - make a pumpkin pie filling with this sweet pumpkin puree version using powdered sugar, etc
- Berry filling - swap all of the filling for raspberry jam, strawberry jam or blackberry and candy eyes
- Cherry pie - for an easy halloween dessert, use a cherry pie filling as I do for my cherry dump cake
- Chocolate - use Nutella chocolate spread, a layer of white chocolate and milk chocolate chips
- Apple hand pies - fill the inside with apple pie filling
- Festive - you could also fill with homemade Christmas mincemeat made in a slow cooker
See my bacon and cheese turnovers version here.
🔪 Equipment
Please note that as an Amazon Associate, I earn from qualifying purchases made through affiliate links.
- Pizza cutter - this is for slicing strips of pastry for the mummy wrapping
- Sharp knife - to cut into 6 squares (it helps to use a ruler too), or you can use a gingerbread man cookie cutter or other cookie cutters for super cute Halloween treats
- Pastry brush - this is to brush your whisked egg yolk to help glue the strips of dough to the bottom layer, then the tops
- Baking tray and silicone baking mat - I use this as it is non-stick and reusable, or you can use regular parchment paper
- Cheese grater - to grate and sprinkle the cheese, or you can slice instead for ease
Note, if not using store-bought pie dough, you will need a rolling pin
❄️ Storage
Storing - we prefer eating these mummy pastries once they've cooled a little, not too hot, but not cold. But they can be stored in an airtight container and refrigerated for up to 3 days.
Freezing - cool to room temperature and again, store in a freezer-safe container for up to 3 months.
Reheating - If you want to eat the next day, defrost in the fridge if required and heat in the oven for 5-10 minutes. You can microwave for quickness, such as 20 seconds, but it will be a little soggy
💡Pro Tips
- If you don't want the strips of pie dough to rise as much on your little mummies, then I recommend using a rolling pin to stretch and flatten 6 sheets
- Don't overfill the mummies as they may leak during baking
- Seal the edges by brushing the border with egg wash before adding the top pieces of dough
- Brush the mummies with egg wash before baking for a crispy golden colour
- Prevent using raw bacon with fat, otherwise it can be greasy and soggy
- If no baking paper, grease your baking sheet well to prevent them from sticking to the pan and burning on the bottom
🍽️ Serving Suggestions
Soups - Other than a simple snack on their own, we've been enjoying it as a side by dunking them in our homemade soup recipes
Sauces - serve with tangy tomato ketchup, or a sweet apple chutney
Chips - treat as a main with homemade oven chips and beans or blackened corn
❓ FAQ
Yes, you can use uncooked bacon in your Halloween mummy pastries, but I recommend using thin slices and all fat removed first to prevent them from being slimy and greasy
Make sure not to overfill the mummy pies and seal the edges with eggwash before adding the strips on top and pressing the edges well or pressing with a fork.
➕ More Tasty Halloween Recipes
Why not try one of our pumpkin recipes?



🍽️More Party Food Ideas
Here are a few more party nibbles you can make:



Why not subscribe to my newsletter to hear about the latest recipes and exclusive news from Tastefully Vikkie? You can also connect with me on social media at Facebook, TikTok, Twitter, and Instagram!
📖 Recipe
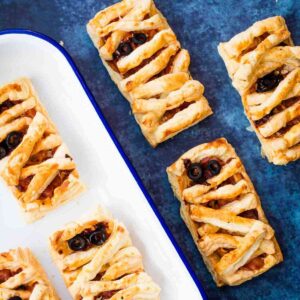
Easy Cheese & Bacon Mummy Hand Pies Halloween Recipe
Equipment
- Pizza Cutter
Ingredients
- 1 pack Puff Pastry sheet
- 120 g Cheddar cheese Grated (we used chilli cheese)
- 6 rashers Bacon Smoked or unsmoked
- 1 small Egg whisked
- ½ tablespoon Dijon mustard
For eyes
- 4 Black olives sliced
Instructions
- First, remove the store-bought pie crust from the fridge and preheat your oven to 180c fan, 200c conventional, gas mark 7 or 400F.Meanwhile, grill or fry your bacon rashers for a few minutes on each side.
- Next, unroll your pastry on a lightly floured work surface, or using the baking paper that usually comes with it.using a ruler and the edge of a large baking sheet, slice the sheet of dough into 12 rectangular dough strips.See my video in the recipe card if needed.
- Now spread some Dijon mustard on 6 of the strips, leaving a gap along the edges.
- Then add a pinch of grated cheese, a cooked bacon rasher, and another pinch of cheese.
- Next, brush some egg wash along the edges.
- Using a pizza wheel cutter, slice the other 6 into thin strips. Note: you don't have to be perfect
- Now starting from one of the longest sides, place the strips across the top haphazardly.Make sure the tops and bottoms have a strip to seal any cheese filling from oozing out.Then slice the excess of the stripes off with your pizza cutter
- Place your spooky mummy hand pies onto a parchment-lined baking sheet.Brush the tops with more of the egg wash, then sprinkle with a pinch of salt or pepper.Then bake for 15-20 minutes until golden brown. Cool on a wire rack for 10 minutes before eating.
Disclaimer
*This is an unofficial page and has no affiliation or endorsement from Slimming World. Slimming World's website can be found at https://www.slimmingworld.co.uk/. Any syn values are personal estimates and not verified by Slimming World.
Video
Notes
💡Pro Tips
-
If you don't want the strips of pie dough to rise as much on your little mummies, then I recommend using a rolling pin to stretch and flatten 6 sheets
- Don't overfill the mummies as they may leak during baking
- Seal the edges by brushing the border with egg wash before adding the top pieces of dough
- Brush the mummies with egg wash before baking for a crispy golden colour
- Prevent using raw bacon with fat, otherwise it can be greasy and soggy
- If no baking paper, grease your baking sheet well to prevent them from sticking to the pan and burning on the bottom


Comments
No Comments